You know what turns heads at a sesh? Someone who can roll a tight joint without flinching. No machines, no gimmicks, just skill. It’s lowkey an art form, and nothing levels up your smoking game faster than learning how to do it right.
Rolling a joint isn’t just about getting from grind to spark. It’s about the ritual, the flow, the confidence in your hands as the paper tucks and seals clean. Sure, your first few might be loose, lumpy, or burn like they’ve got a mind of their own.
But every joint roller starts there. This guide? It’s here to get you past that beginner phase and into the pocket.
You’ll learn how to prep your materials, shape a perfect roll, and avoid all the rookie mistakes that turn a joint into a struggle.
We’re breaking it down step by step, with style, precision, and zero fluff. So by the end, you’re not just rolling. You’re building a whole vibe.
Ready to stop watching and start doing?
Let’s build your first real joint, one twist at a time.
What You Need Before Rolling a Joint
Before your fingers ever touch the paper, your setup matters. Rolling a joint isn’t just about technique. It’s about having the right gear and knowing how to use it.
From your paper to your flower, every part plays a role in how smooth, tight, and clean that final roll turns out. If you're trying to get that perfect burn and solid draw, it all starts with what you’ve got in front of you.
So before we even talk about the roll, let’s make sure you’re working with the right materials.
Choosing the Right Rolling Papers
Rolling papers are more than just a wrapper. They’re the foundation of your joint. And once you’ve gone through a few packs, you’ll notice how much paper can make or break the roll.
You want something that’s thin enough to burn slow but not so flimsy it tears mid-tuck. Thicker papers are easier to control at first, but they can mute the flavor and torch unevenly.
Aim for unbleached or hemp-based papers when you’re learning. They burn cleaner, hold their form better, and let your flower actually taste like itself.
Paper size changes everything, too. If you’re just starting out, regular 1¼ papers are a sweet spot. They’re manageable, forgiving, and perfect for solo sessions or small circles. King-size papers offer more room and longer burns, but they also demand more finesse.
Trying to roll a cone with too much space before you’ve nailed the basics is a quick way to end up with a fat mess that smokes like a campfire. Get your hands used to the smaller size first, then level up when you’ve got the muscle memory.
And then there’s flavored papers. They’re a vibe, sometimes. If they match the strain, it can elevate the experience. But more often than not, they clash. You don’t want a candy wrapper over good flower, especially if the strain’s got a distinct terp profile.
Think of your premium rolling paper like a beat. It’s supposed to back up the main track, not overpower it. Pick papers that fit your strain, your session, and your style.
That choice alone sets the tone for everything that comes after.
Grinder and Other Tools You’ll Want on Deck
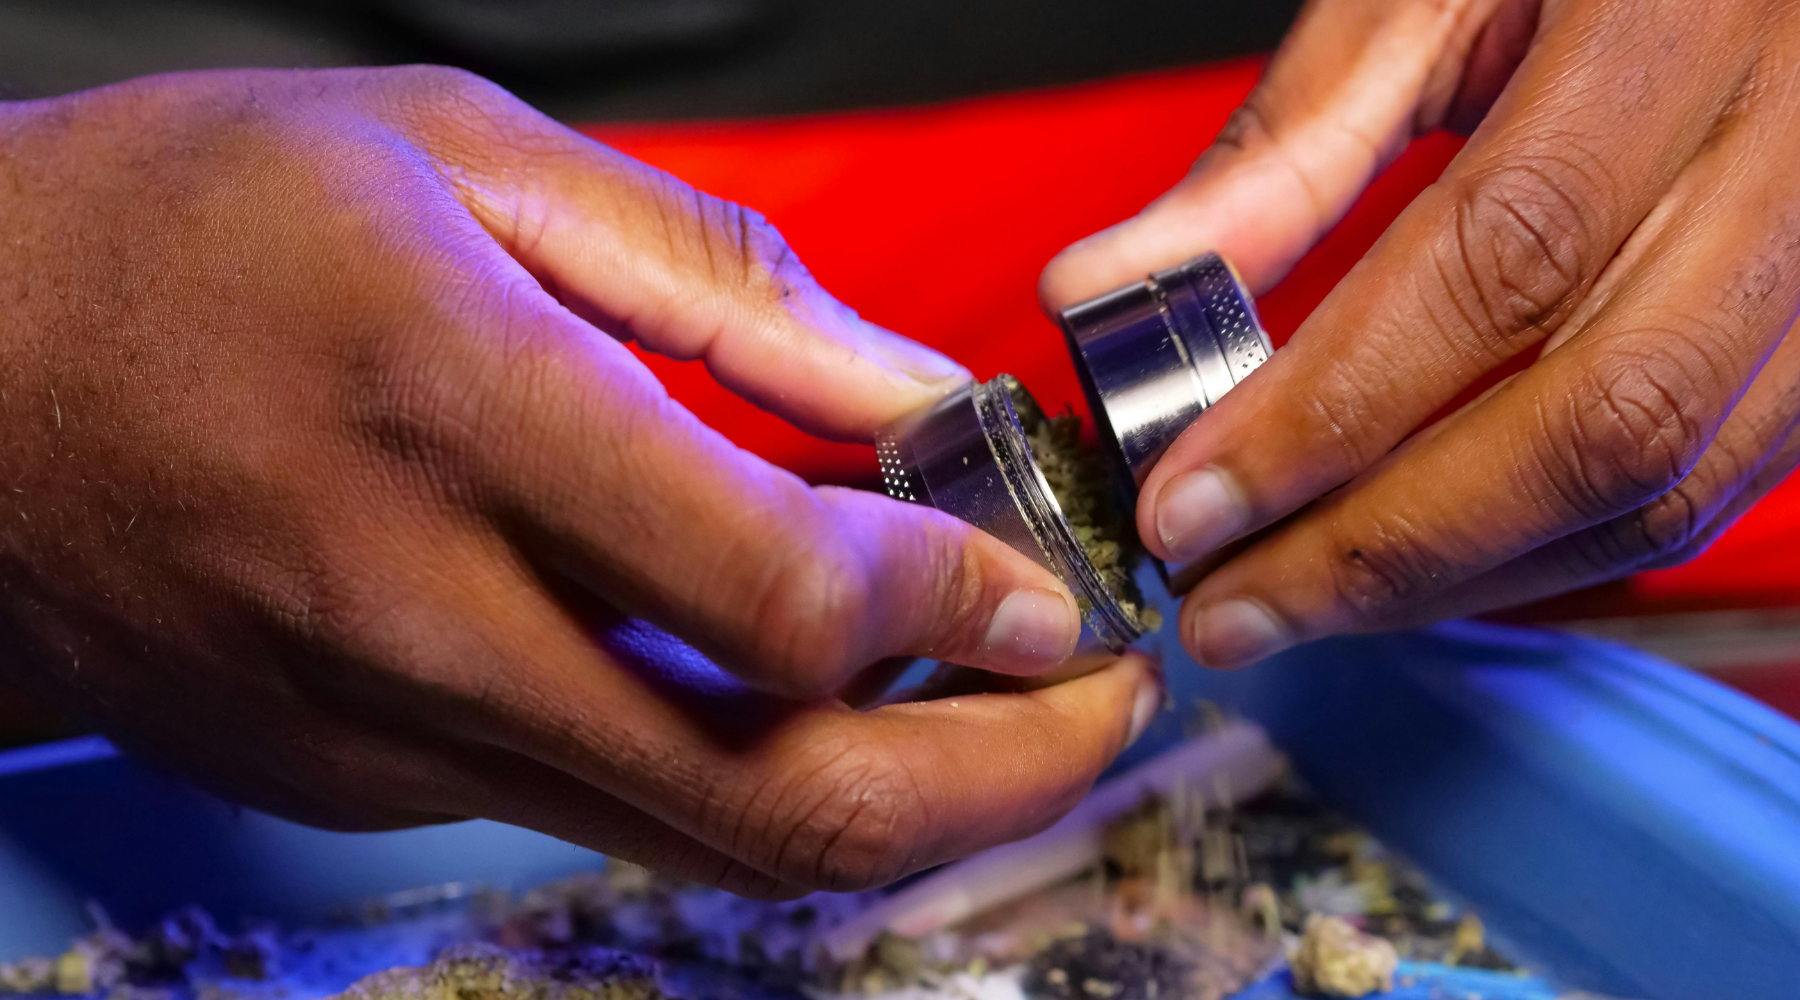
You absolutely need a grinder. Breaking bud with your fingers sounds romantic until your joint burns like trash and your hands are sticky for an hour. A metal grinder with sharp teeth gets you the right consistency. Fluffy, not dusty. You want the pieces small enough to roll evenly, but not ground to powder.
Aside from a grinder, keep a flat surface ready. A rolling tray, a hardcover book, anything clean and steady. A good tray keeps your herb in place and gives you space to work your hands.
You’re not making art here, but a steady space makes the job way smoother.
Lastly, have something slim and solid nearby to pack down the end of your joint after rolling.
Could be a pen, a chopstick, a key. It doesn’t matter, as long as it fits in the tip without ripping your paper. You’ll use it to tighten up the roll and keep everything burning just right.
Picking the Right Strain or Type of Flower
Rolling a joint with dry, dusty bud is asking for a harsh smoke. Sticky, dense nugs break down better and roll smoother. You want something that’s got a little bounce to it. Not so wet that it clumps, not so dry it falls apart in your fingers.
Your strain choice affects your whole session, not just the flavor but the feel. If you're rolling for a chill night in, something indica-leaning sets that laid-back tone.
Sativa’s got that spark. You’ll feel lighter, more social, great for rolling with friends around. Know your intent, then match your strain.
Stick to well-cured flower. If it feels like it’s been in the bottom of a drawer for weeks, skip it. Rolling a joint is about setting yourself up for a good time, not hacking through a dry mess that burns unevenly.
Rolling the Joint: Step-by-Step Instructions
This is where it all comes together. Grind’s done, papers are ready, and now it’s on you. Rolling a joint isn’t just about stuffing herb into a wrapper. It’s about touch, rhythm, and getting a feel for the flow.
Each step builds off the last, and once you learn how to control the paper, guide the shape, and seal it clean, that joint becomes second nature.
Follow the steps below and stay focused. This is the part where your hands learn the language.
Step 1 – Place the Filter or Crutch
Your filter is more than just a placeholder. It’s the backbone of the joint. You roll around it. You shape your paper with it. Without it, the base gets soggy, loses shape, and can clog mid-sesh. So make this part count.
Slide the filter into one end of the rolling paper. You want it snug but not jammed in. The edge of the filter should line up with the paper’s edge, so when you roll, it stays flush.
Don’t skip this. You can roll without a filter, but you’ll probably regret it halfway through when the joint starts falling apart or drawing resin into your mouth.
Filters help you roll tighter, smoke smoother, and finish stronger.
Step 2 – Fill the Paper with Ground Flower
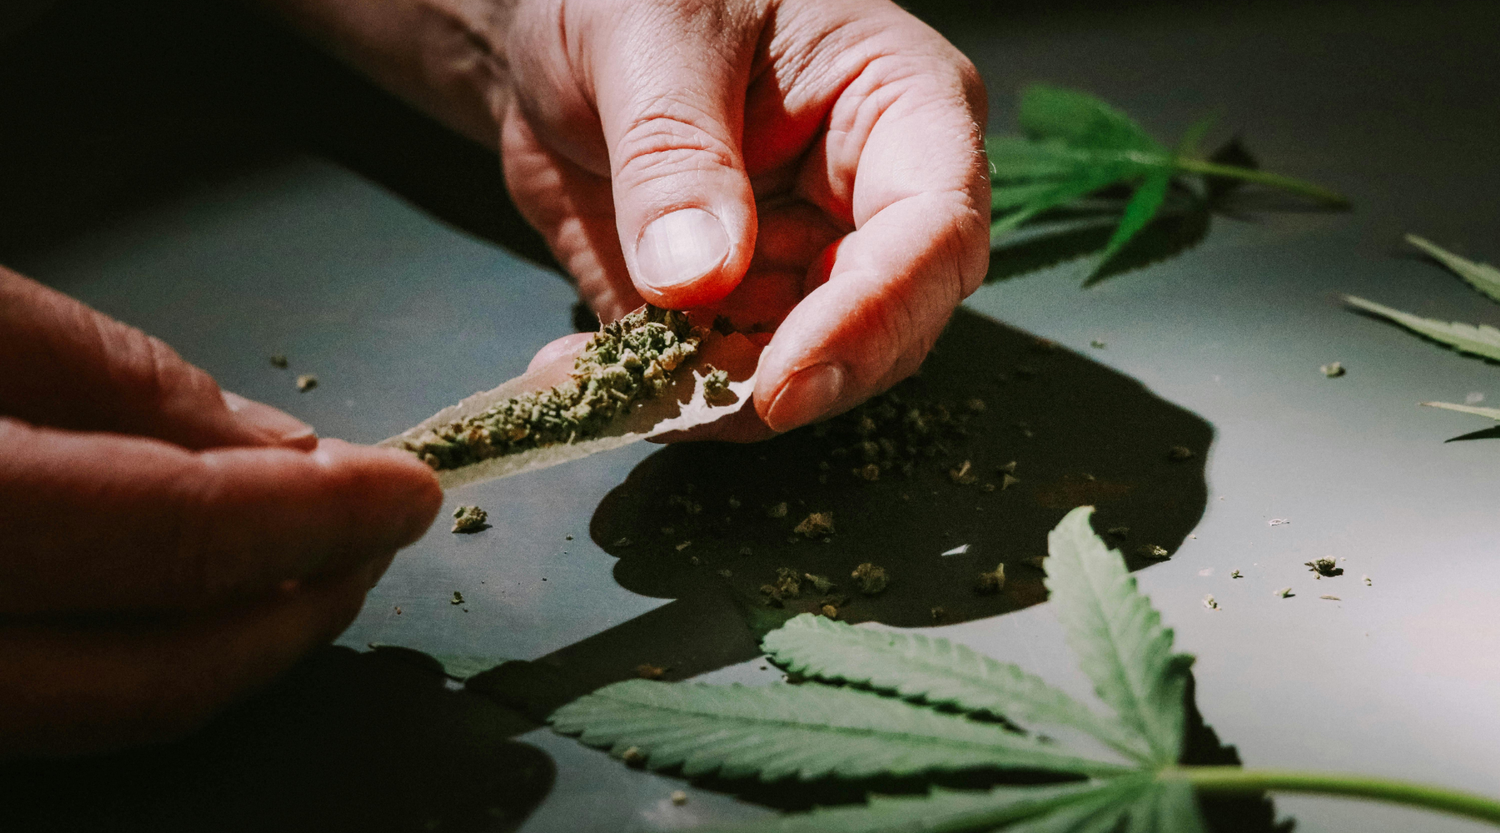
Time to load up. Hold the paper with both hands and use your fingers to sprinkle the ground flower evenly across the length of the paper. If you’re doing a cone shape, drop more herb toward the tip and taper it off toward the filter.
The goal here is balance. You don’t want clumps or air pockets. You’re building a log of herb that matches the paper’s shape. It should look smooth, not jagged or lumpy.
Gently pat the flower into place. Don’t press it down hard. Just get it settled so it stays put when you start to roll. Think of it like setting wet concrete.
You’re shaping, not smashing.
Step 3 – Shape and Tuck the Roll
This is where it gets real. Hold the joint with both thumbs and forefingers and start to rock it back and forth gently. That motion shapes the flower and rolls the paper into form. The tighter and more consistent your tuck, the better the burn.
Once you feel the flower packed evenly and the paper curling into that joint shape, start the tuck.
Roll the unglued side of the paper over the flower and begin to slide it underneath. This part takes finesse. Don’t force it. Let the paper guide you.
Tuck from the filter end to the tip. Keep your thumbs moving together. A tight, even tuck means a smoother smoke and a joint that holds its form without folding mid-sesh.
Practice is everything here.
Step 4 – Seal the Joint Tight
Now that you’ve got the paper wrapped and tucked, it’s time to seal it.
Wet the adhesive strip lightly with your tongue. Just enough to activate the glue, not soak the whole thing. A quick lick gets the job done.
Press down on the glued edge starting at the filter and work your way to the tip. Keep the seal firm but gentle. You don’t want wrinkles or air gaps along the top.
Once sealed, give the whole joint a once-over. Press gently along the length to firm it up and check for weak spots.
This part is low-key where you elevate your joint from “good” to “clean.”
Step 5 – Pack the End and Twist It Closed
With the joint sealed, you’ll probably have a little extra paper at the end.
Use your packing tool to gently press the flower down through the open tip. Don’t go hard. Just enough to firm it up and make sure the joint stays tight.
Now twist the excess paper at the tip. Some like to fold it flat, but twisting locks everything in and makes it easier to store or light later. It also keeps any loose flower from spilling out.
And that’s it. You’ve got yourself a real-deal joint, packed, rolled, and sealed with your own two hands. From here, all that’s left is fire.
Different Joint Styles and Shapes You Can Try
Once you’ve nailed the basics, you’ll start realizing there’s more than one way to roll. The style of joint you go with isn’t just about looks. It changes how the joint burns, how it pulls, and how it feels in your fingers.
Some shapes are easier to roll. Others burn better.
And a few are just straight-up flexes. Whether you're keeping it classic or getting creative, your roll should match your vibe and your sesh.
Classic Cone vs. Straight Joint
Straight joints are where most people start. And for good reason. They’re even from end to end, simple to roll, and don’t require much shaping finesse. Once you get the tuck down, you can knock these out consistently.
The uniform shape means the burn stays steady as long as the grind’s right. For beginners, straights are forgiving and functional, perfect for dialing in the mechanics without overthinking it.
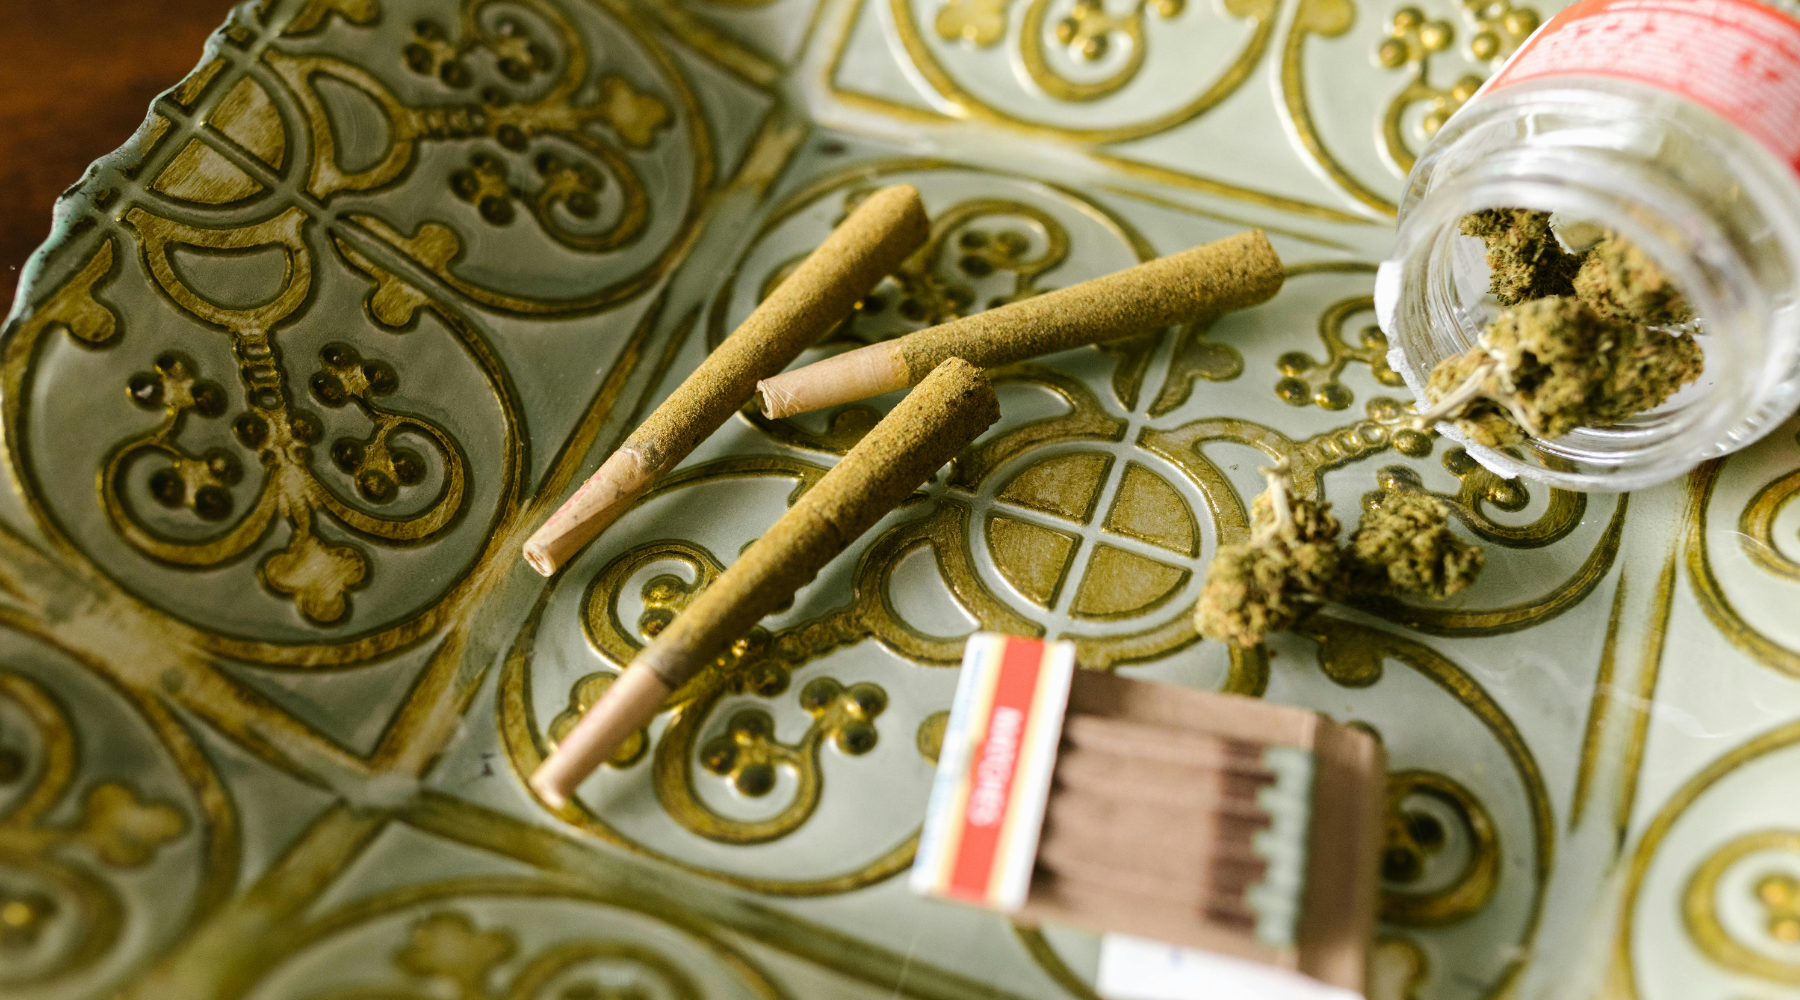
Pre-rolled cones are a different story. They demand more technique but pay off big. That fat base and tapered tip mean better airflow and smoother pulls. Plus, you can load more flower into a cone without messing with the draw.
When rolled right, cones burn longer and hit harder while still staying smooth. And yeah, there’s some style points too. A clean cone tells people you’re not just rolling. You know what you’re doing.
Both styles are solid. The straight joint teaches you control. The cone levels up your flow. You don’t need to master both right away. Start where you’re comfortable. But if you’re aiming for that full sesh experience, eventually you’ll want to learn the cone.
It just feels right in the hand, and it smokes like it means it.
Cross Joints, Tulips, and Other Creative Styles
Once you’ve got the basics locked, it’s only a matter of time before you want to roll something that turns heads. That’s where the creative styles come in. Joints that aren’t just functional, but full-blown smoke art.
Cross joints are a go-to flex for group sessions: one vertical joint pierced by a second horizontal one, all lit at once for a three-way burn. They’re not the smoothest or longest-burning option, but if you roll it clean, you’ve instantly got everyone's attention.
Then there’s the tulip joint. It’s built like a flower bulb sitting on a stem. Huge at the top, tight at the bottom. They’re tricky to get right because you’ve got to pack the “bulb” heavy without tearing the paper, then seal it onto a rolled base that holds it steady.
But when it works, it hits like a beast. Tulips aren’t about subtlety. They’re about making an entrance and passing around something that feels more like a smokeable sculpture than a regular roll.
You’ve also got your braids, scorpions, and other novelty joints that go full-on artistic. These aren’t the kind of things you whip up on a Wednesday night.
They’re for birthdays, festivals, or that one friend who thinks they’ve seen it all. The roll quality still matters, but the real flex is in the form.
They’re not about everyday function. They’re for the moments when you want your joint to be the main event.
Final Thoughts on Learning How to Roll a Joint
Rolling a joint isn’t about chasing perfection. It’s about building rhythm. It’s muscle memory, touch, and trust in your hands. At some point, it stops feeling like a checklist of steps and starts becoming automatic.
You’ll feel the grind, sense the shape, and seal the paper with that quiet confidence that only comes from repetition. Rolling becomes a ritual. Something that will become familiar, smooth, and personal for you.
You’re going to mess a few up. Everyone does. One rips, another burns sideways, and maybe one just straight up collapses in your pocket.
That’s part of the learning curve. Every time you roll, you pick up something. How much to grind, when to tuck, how to spot a weak seal. Each joint is a test, and eventually, you stop second-guessing and start flowing. The practice is the progress.
Because the moment you light up something you rolled clean, with your own hands, your own rhythm, that’s a different kind of satisfaction.
It hits better because you built it. So don’t stress the slip-ups, don’t rush the reps.
Burn slow, stay high, and let your hands keep learning.
You’ll know when you’ve got it.


LEAVE A COMMENT
All comments are moderated before being published.
This site is protected by hCaptcha and the hCaptcha Privacy Policy and Terms of Service apply.