You ever sat down with your favorite strain, a pre-rolled cone in hand, and thought, “Damn, I hope I don’t mess this up”? That’s the moment that separates a casual sesh from a solid one. And knowing how to pack a cone properly is what flips the switch.
Pre-rolled cones might look easy, but there’s a rhythm to them. Pack too tight? You’re pulling like a vacuum. Too loose? You’re halfway to Canoeville. But once you learn the technique: grind right, fill right, tamp right, you’re building a session that smokes smooth from spark to finish.
If you’re here, odds are you’re ready to stop winging it and start packing like someone who actually gives a damn about their flower. Good.
This beginner’s guide doesn’t just walk you through how to pack a cone, it sets you up to master it.
Clean pulls, even burns, zero waste.
You ready? Time to pack things up! But maybe not just yet.
What Are Pre-Rolled Cones and Why Use Them?
In all honesty, rolling by hand can feel like an art class you didn’t sign up for. Between crumbling papers and lopsided shapes, it’s easy to fumble your way into a frustrating sesh.
That’s where pre-rolled cones step in. They take the guesswork out of rolling, leaving you to focus on what matters: the herb and the experience.
If you’ve ever wanted to get straight to the good part without compromising the burn, pre-rolls are your new best friend.
The Benefits of Pre-Rolled Cones
Pre-rolled cones are the go-to for anyone who wants to skip the guesswork and get straight to the sesh. You don’t have to wrestle with rolling papers, lick seams, or pray the thing doesn’t unravel mid-smoke. They come shaped, sealed, and filter-ready.
Basically asking to be packed and sparked. For beginners, it cuts out all the heavy lifting. For seasoned smokers, it just saves time and keeps things moving. Either way, the convenience is undeniable.
But these cones aren’t just about being easy. They’re about being reliable. Every cone has that clean, consistent shape that hand-rolling rarely nails unless you’ve been at it for years.
That uniformity means you’ve already got the right base for an even pack and an even burn. No awkward lumps, no janky airflow, just a smooth channel from the filter to the tip. It’s one of those little details that makes a huge difference once you’ve lit up.
And let’s not ignore the flex. When you roll up to a group hang and pull out a perfectly packed pre-roll, you’re sending a message: you know what you’re doing.
The cone looks tight, smokes clean, and holds its shape like it came straight from a dispensary.
Even if you're still testing strains and dialing in your personal style, pre-rolled cones give off that pro-level energy without requiring a pro-level rolling skill.
Why Packing Matters for a Smooth Burn
Nothing kills the vibe faster than a cone that burns wrong. You spark it up, take a few pulls, and boom: it starts canoeing like it’s on a river trip you didn’t sign up for.
One side’s torched, the other’s untouched, and your flower's going up in smoke, literally. This is where packing steps in. A sloppy pack leads to sloppy burns. But a cone that’s filled with care and balance? That’s the secret to a sesh that hits right, every time.
When you pack a cone evenly, you're setting the pace for the whole burn. The cherry catches smooth, the airflow stays consistent, and every draw feels like it was meant to be.
A well-packed cone gives you those slow, controlled pulls that stretch your sesh without killing the taste. You’re not rushing, relighting, or puffing like crazy to keep it going. You’re just cruising.
And on top of that, tight packing = less waste. You protect your flower from burning too fast or falling out mid-smoke. Every bit of green in there is working the way it should. No hot pockets, no gaps, no clogged-up frustration.
You’re respecting the herb, the paper, and your own time. Because once you get the pack right, it’s not just a cone, it’s a clean burn that you built from the grind up.
Tools and Supplies You’ll Need
Before you start packing like a legend, you’ve gotta get your toolkit dialed in. This isn’t just about tossing weed into paper. It’s about control, consistency, and quality.
The tools you use directly shape your sesh, from the burn to the flavor to how much herb you end up saving.
Getting this part right means every cone you pack has the potential to hit clean and smooth, no matter your experience level.
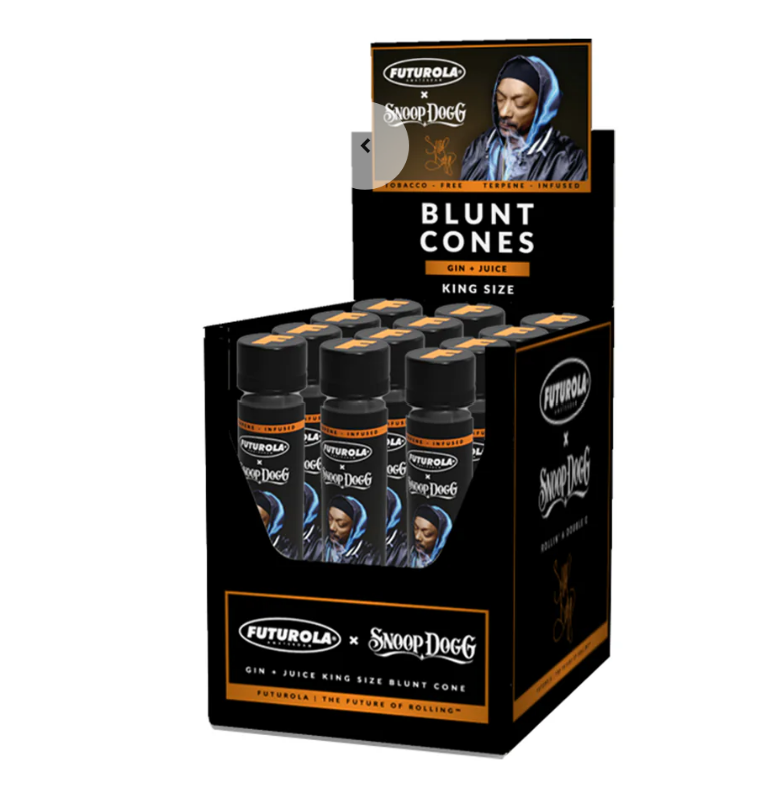
Choosing the Right Cone
Not all cones are made equal, and the difference is more than just branding. The size you choose affects everything from burn time to how smooth the draw feels.
For most beginners, something like a king-size cone is a safe and solid bet. They’re reliable, well-constructed, and come with built-in tips that make airflow way easier to control. Plus, you won’t find yourself frustrated with unraveling seams or janky construction halfway through packing.
Then there’s the paper. That thin shell around your flower isn’t just packaging: it’s part of the flavor profile. Unbleached, hemp-based cones burn slower and cleaner, letting your bud’s terpenes shine without interference.
Flavored cones might sound fun, but unless you’re pairing them with a neutral strain, they can completely overpower the flower’s natural taste. Think of the paper like a speaker; it should amplify your weed, not remix it into something else.
Size matters too, and not just for flexing. If you're still getting the hang of packing, skip the party-sized cones. A standard 1 ¼ pre-rolled cone is easier to fill evenly and burns more predictably, giving you time to learn how your grind, tamp, and twist all play together.
Once you've got the muscle memory down and can dial in the airflow with your eyes closed, then go big. Until then, stay in your lane and master the fundamentals.
Step-by-Step: How to Pack a Cone Like a Pro
Time for the main thing. Let’s settle this first: packing a cone isn’t just about stuffing weed into a tube, it’s a process. And once you dial it in, it turns into a ritual that’s almost as satisfying as the smoke itself.
Each step matters, and skipping one can throw off your whole burn.
This guide breaks it down so that even if you’ve never touched a cone before, you’ll come out of it packing like you’ve been doing it for years.
Let’s start with the grind, because that’s where everything begins.
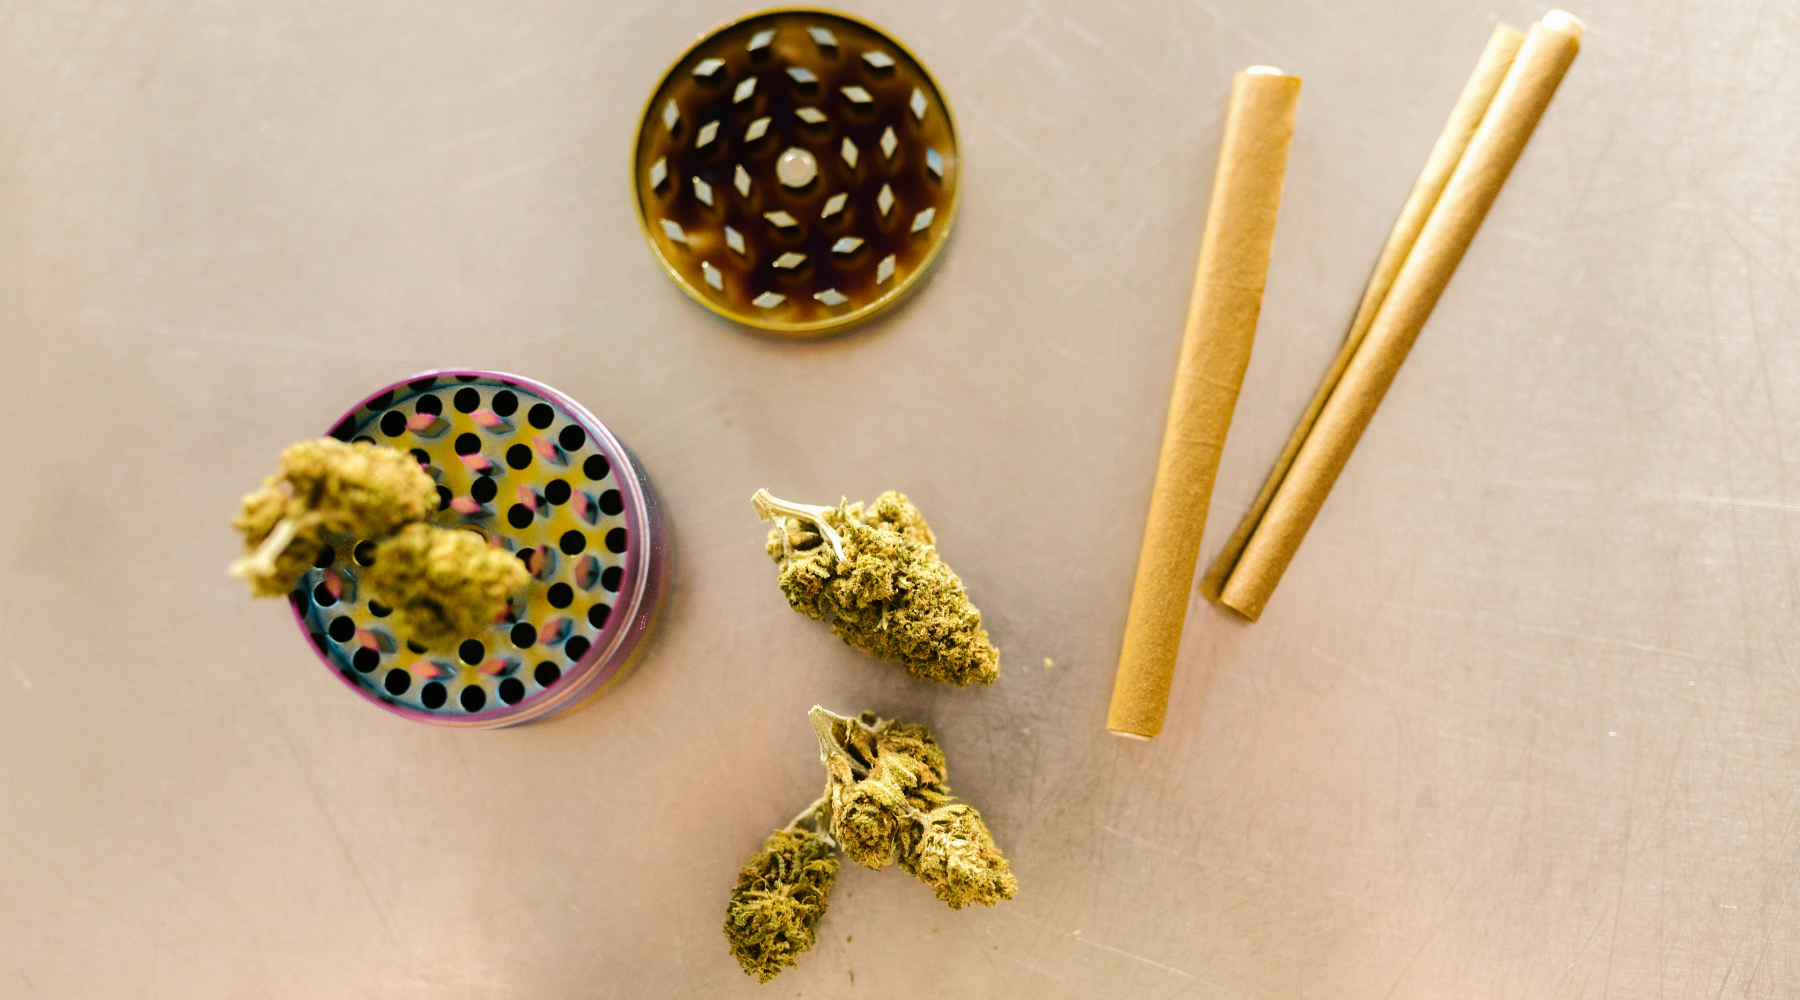
Step 1 – Grind Your Herb to the Right Consistency
This is the foundation, and if you mess this up, nothing else will feel right. Grinding your herb to the right texture is what sets the pace for airflow, burn rate, and flavor.
You want it fluffy, airy, and uniform. Think dry oregano, not fine sand. If it’s too fine, you’re choking your cone. If it’s too chunky, you’re leaving air pockets that’ll cause burn gaps. Find that middle ground where everything just clicks.
To get there, don’t overload your grinder. Break your nugs into smaller bits before tossing them in. Overstuffing leads to uneven teeth action and puts unnecessary wear on your grinder.
Go with a few light turns and feel the texture between your fingers when you’re done. You’ll know you’ve hit that sweet spot when it’s soft, fluffy, and holds its form without clumping.
Before moving to packing, do a quick check for stems or clumps. Pull out anything that looks off.
For example, those rogue pieces can mess with your draw or even tear the cone from the inside.
It's not just about being picky; it's about prepping your herb like you actually care about the outcome. Good grind = good cone. Every time.
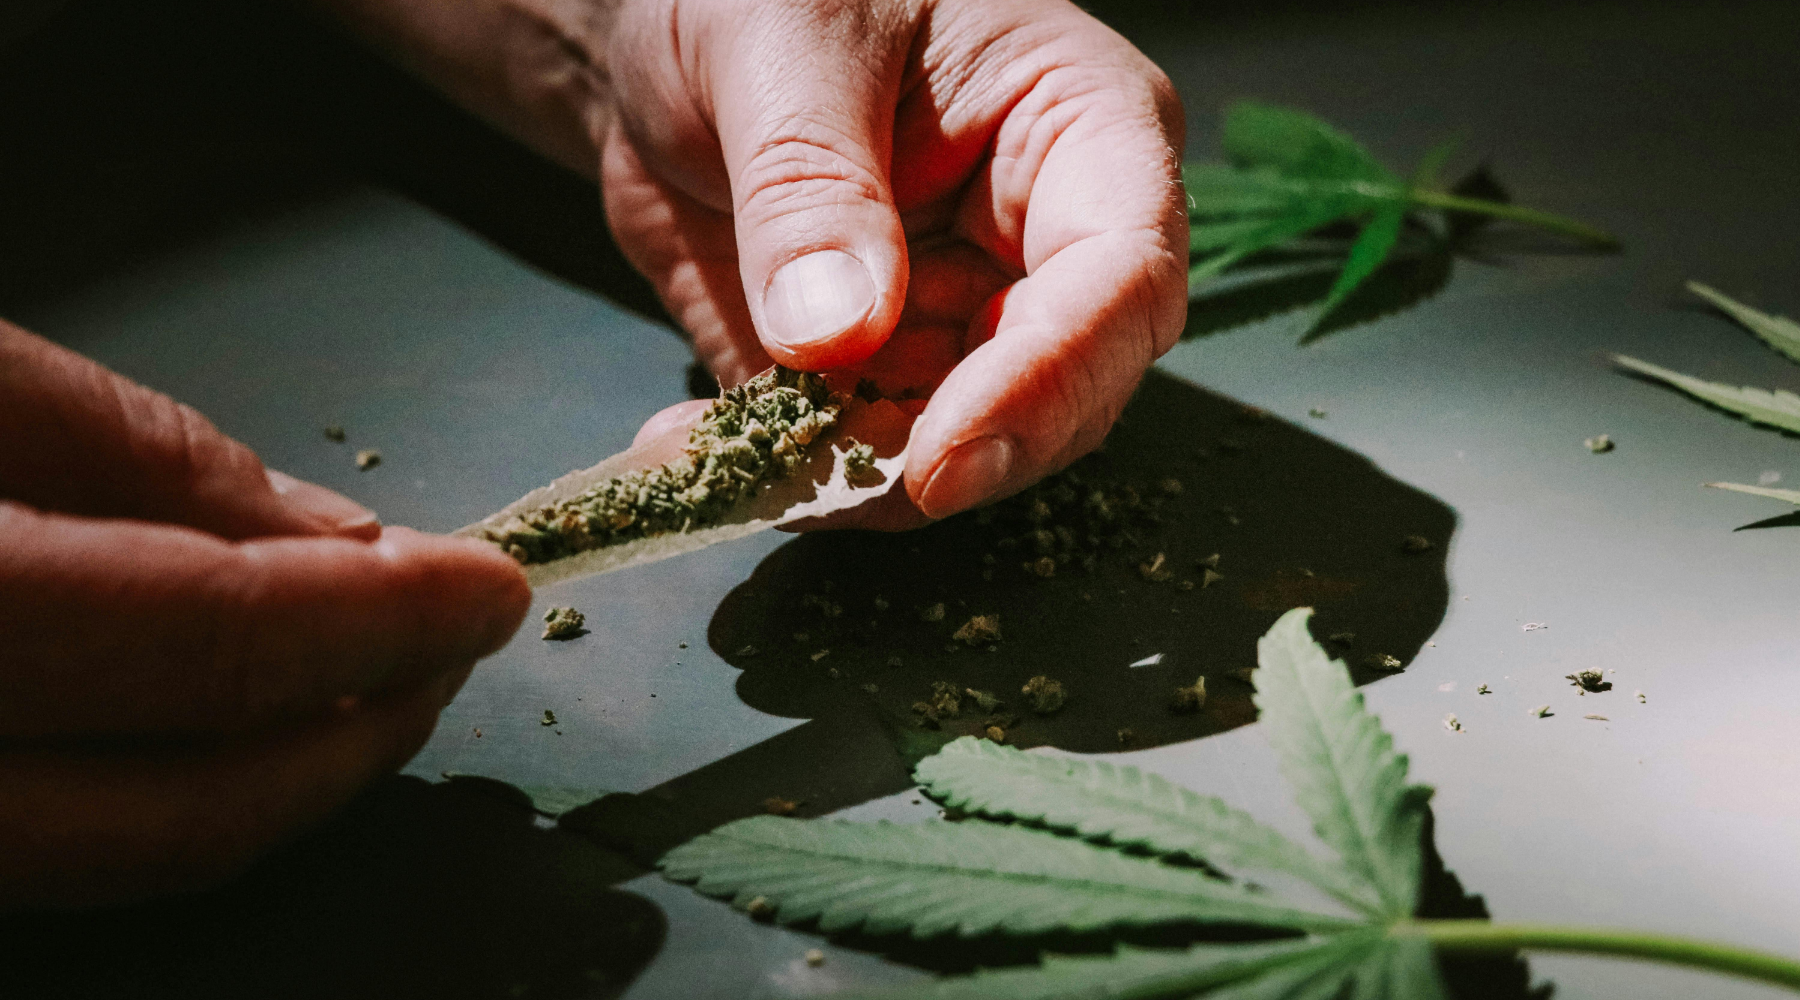
Step 2 – Load the Cone Slowly and Evenly
Now that your herb is on point, it’s time to fill the cone. This part is where a lot of folks rush and it shows in the final result.
Always start with the filter end down. Hold the cone upright and add your herb gradually, pinch by pinch. Layering it in gives you way more control than just dumping it all at once. This is how you shape the flow of the whole smoke.
As you add each pinch, use your packing tool to gently guide the herb into place. You’re not jamming it. You’re nudging it to settle. Think of it like building something soft but structured, like a beanbag chair.
Each layer stacks onto the last without collapsing it. That even distribution is what keeps your cone burning straight instead of turning into a fire hazard.
Keep an eye on symmetry. If one side starts bulging or leaning, that’s your cue to stop and correct it. Redistribute the flower so the cone stays balanced.
A good pack looks tight without being overstuffed, and the shape should hold naturally from base to tip. This part takes a little finesse, but once you get it, you’ll feel the difference instantly.
Step 3 – Pack It Tight, But Not Too Tight
Packing is where most beginners go wrong. They either go way too hard and end up with a clogged cone or barely press it at all and wonder why it burns sideways.
The goal here is to build firmness, not compression. You want to tamp each layer enough that it holds together but still breathes when you take a pull.
Start from the bottom: right above the filter and work your way up as you add more. Use your tool to press each layer gently into place.
Don’t jab or twist too hard; just guide it down until it feels snug. If you overdo it, the airflow gets blocked and you’ll need a lung workout just to get a hit. If it’s too loose, it’ll canoe or burn out early.
A quick test? Try a soft pull through the filter before you seal the top. If the airflow feels smooth with a bit of resistance, you're golden.
If it feels like sucking a milkshake through a coffee straw, back it up and lighten the top layer.
Once you start recognizing the feel of a well-packed cone, you’ll never forget it. It’s that satisfying.
Step 4 – Twist the Tip to Seal It Off
You’re almost there. Once the cone is packed and balanced, it’s time to seal it. Take the open end and gently twist it between your fingers until it forms a short, firm tail. You’re not trying to strangle it: just enough to close it up so the herb stays put. A tight twist keeps everything clean and makes transport way easier.
Some folks fold the tip flat instead of twisting, especially if they’re lighting up right away. A flat fold creates a bigger surface area, which can help you get an even spark.
Either way works; it just depends on your style and how soon you plan to spark. What matters most is locking that cone in so the pack doesn’t shift and the herb doesn’t spill.
Once sealed, give it one last tap. Either on your tray or the table. That gentle knock settles any loose herb and confirms everything’s in place. It’s a tiny step that makes a big difference.
You’ll feel that firmness in your fingers, and trust me, it’ll feel right. That’s when you know this cone’s ready to burn smooth, just like you packed it.
Pro Tips for a Better Cone-Packing Experience
Once you’ve nailed the basics, it’s the little things that take your cone game from decent to dialed-in.
Packing a cone isn’t just about filling it up and lighting it; it’s about creating a smooth, burn-friendly setup that holds up from the first hit to the last ash.
These tips are for when you want to tighten your technique, fix those mid-sesh issues, and make the whole process feel easier and cleaner without cutting corners.
Tip #1: Avoid Canoeing and Uneven Burns
Canoeing happens when your cone burns unevenly, and once it starts, it's hard to fix without breaking the flow of your sesh. The usual suspects? Uneven grind, inconsistent packing, or a rushed light. The flame catches one side, races ahead, and your weed starts burning faster than you can smoke it. It doesn’t just waste product: it kills the flavor and momentum.
To avoid that, start with an even grind and distribute it carefully while loading the cone. Every few pinches, give the cone a light tap to settle the herb without creating pockets.
When it’s time to light up, be intentional. Rotate the cone as you ignite the tip. This helps the cherry form evenly, creating a consistent burn path right from the jump. That first light is more important than most people realize.
If a canoe starts creeping in mid-smoke, don’t panic. You can wet the fast-burning side slightly to slow it down, or pause and rotate the cone away from the flame to let the slower side catch up.
But the real fix is prevention. If you pack with balance and light with care, canoeing rarely shows up.
Tip #2: Use a Cone Loader or Filler Device
If you’re packing more than one cone or working with finely ground herb, a filler device like the FUTUROLA Knockbox Series 50, 100, 300, 500 can be a real time-saver.
These tools help guide the flower directly into the cone, reducing mess and speeding things up without sacrificing quality. You may opt to do this not because you are lazy.
You can choose this alternative because you want to work smart, especially when you’re prepping for a group sesh or rolling in a hurry.
Most loaders work like funnels or trays that channel your herb into the cone evenly. That means fewer spills and less manual scooping.
But even with a device doing the guiding, you’re still in charge of the pack. You have to monitor how the herb settles, layer it properly, and tamp it down with that same level of care you’d use by hand.
Using a loader doesn’t mean you get to check out. Pay attention to how the cone is shaping up as it fills. If one side is heavier or the herb’s bunching near the filter, pause and adjust.
These tools can streamline the process, but they can’t replace your eye for balance or your feel for airflow. That’s still on you.
Tip #3: Store Your Packed Cones Safely
So you’ve packed the perfect cone. Don’t let a little time or carelessness ruin it. If you’re not sparking up immediately, how you store that cone makes all the difference. The wrong move can lead to crushed paper, dried-out herb, or worse, a soggy, unusable mess. Keep this in mind: proper storage = better preservation.
Use a firm, airtight container that shields your cone from pressure and moisture. If it’s bouncing around in a loose bag or sitting exposed on a shelf, it’s asking for damage. Humidity, in particular, is a silent killer.
Too much moisture can warp the paper or mess with the bud’s burnability. Dry, cool, and dark spaces are your safest bet for storage.
And yeah, pre-roll tubes or reusable shells are clutch. But even a solid jar or stash box does the trick if it keeps things airtight and upright.
Stored properly, your cone will be just as fresh and perfectly packed when you come back to it. You already did the work. Now protect it so you can enjoy every hit the way it was meant to smoke.
Mistakes Beginners Should Avoid
You might say that packing a cone might be easy because you know it now. Let me stop you there. Even seasoned smokers slip up when they rush or overlook the details.
For beginners, those little missteps can mean wasted flower, uneven burns, or cones that barely smoke.
The key isn’t just learning what to do. It’s also knowing what not to do. These common mistakes might seem small, but they’re the difference between a smooth, vibey sesh and one that leaves you frustrated and relighting every five minutes.
1. Overpacking or Underpacking
Here’s the thing: stuffing more weed into a cone doesn’t automatically make it better. In fact, jamming too much in can ruin the whole session. When you overpack, the airflow chokes.
Your draws feel tight, the cherry struggles, and it’s like sipping through a blocked straw. On the flip side, underpacking leads to a cone that collapses when you hold it, burns unevenly, and drops ash like it’s falling apart mid-smoke.
The sweet spot is firmness without restriction. Your cone should hold its shape in your fingers and offer a bit of resistance on the pull, but never feel like a workout to smoke.
That balance takes practice. You’ve got to learn the feel. How much herb fits right, how much pressure to apply, and when to ease up. It’s not something you’ll get perfect on the first try, but every attempt teaches your hands a little more.
Don’t fall for the “more is better” trap. A cone packed with intention will always hit smoother than one stuffed to the brim without care.
The real flex is knowing how to control your pack, not just how much you can cram in. Master the balance, and your cones will speak for themselves.
2. Using Poor-Quality Cones or Tools
Your tools shape your outcome. If you're using thin, cheap cones that tear when you look at them wrong, or a grinder that chews instead of slices, you're setting yourself up for failure.
Low-grade gear leads to inconsistent burns, weird flavors, and frustration. It doesn’t matter how good your flower is. If your paper and tools can’t match that quality, the whole sesh takes a hit.
Watch for signs: paper that smells funky, cones that unravel before you’re done packing, or grinders that leave you with clumps and powder instead of a balanced grind. These are red flags. And don’t underestimate how much a good packing tool changes the game. If your tamping stick is janky or too thick, it can crush the cone or jam the herb in all wrong.
Good gear doesn’t mean expensive, it just means dependable. Find what works for you and stick with it.
Once you’ve used tools that feel right, you’ll wonder why you ever settled for the half-baked stuff. It’s about consistency, ease, and elevating the whole experience.
3. Not Shredding or Grinding the Herb Properly
Shredding and grind game is everything. You can have the best cone, the smoothest pack, but if your flower’s not ground right, it’ll throw the whole smoke off.
Too chunky and it creates gaps that torch one side faster than the other. Too fine and it clogs the filter, cutting off airflow before you even finish your first hit. You want something that’s fluffy, even, and springy to the touch.
Take your time with the shredding and the grind. Don’t rush it like it’s some pre-step you need to power through. Shredding and grinding is part of the ritual. It’s how you prep the vibe. And if you need extra help, you can also use shredding devices like the FUTUROLA Pro Shredder.
Break your nugs down before loading the grinder, give it a few controlled spins, and feel the texture before you pour it out. You’re aiming for that perfect middle ground. Not too airy, not too dense.
Before packing, always run your fingers through the grind. Look for clumps, tiny stems, or pieces that just don’t belong.
Fix it now, and your cone will thank you with smooth hits and a clean burn. Skip this step, and you’ll be relighting, adjusting, and wondering why your cone won’t cooperate. It all starts with the grind.
Final Thoughts on Perfecting Your Cone Game
Packing a cone isn’t some fixed formula: it’s a craft. There’s a rhythm to it, and the more you do it, the more you start feeling it in your hands.
You learn when to tamp and when to ease up. You start recognizing how the grind, the pack, and the light all affect the burn. And you stop thinking about every step because it becomes second nature. That balance: tight but breathable, packed but smooth, that’s what separates a good cone from a forgettable one.
Don’t rush it. Pre-rolls are the perfect canvas to experiment on, and every session teaches you something new. Watch how the cherry moves, feel the airflow as you inhale, and tweak your technique each time.
A canoe here, a clog there, these aren’t failures, they’re checkpoints. Every misstep gives you better hands, sharper instincts, and more control over your sesh. It’s all part of dialing in your own style.
Eventually, you won’t even think twice when it’s time to pack one. You’ll grind, fill, tamp, twist and it’ll just flow. And when someone passes you a paper and says, “You got this?” you won’t hesitate.
Because by then, you’ll know. You built your cone game from scratch, learned through smoke and trial, and now you’re the one setting the standard.
So spark it, enjoy it, and take pride in the burn you packed with your own hands.
Pack it up!
LEAVE A COMMENT
All comments are moderated before being published.
This site is protected by hCaptcha and the hCaptcha Privacy Policy and Terms of Service apply.