You ever twist your grinder and feel it fighting back? Like it aged a decade overnight? Sticky teeth, gunked-up threads, screens so clogged your kief stash goes ghost. Yeah, that’s not just wear and tear. That’s your grinder begging for a cleanup. Well, that is the reason why you need to learn how to clean a grinder.
A dirty grinder messes with everything. It clogs your airflow, jacks up your grind consistency, dulls the taste, and low-key wastes your flower. And if you’re wondering why your pre-rolled cone burns weird or why your herb’s tasting flat, it’s probably not the bud. It's your gear.
But don’t worry, this isn’t one of those “just rinse it and you’re good” type of deals. This guide’s for real smokers who care about every part of the process. We’re breaking down exactly how to clean a grinder step-by-step, how to tell when it’s time, what tools to use, and how to keep it fresh without scrubbing every other day.
If you’re ready to bring your grinder back to peak form and keep your sessions tight, smooth, and tasting clean, let’s get into it.
Because a clean grinder doesn’t just hit better. It hits different. Pure Facts.
Why Cleaning Your Grinder Matters
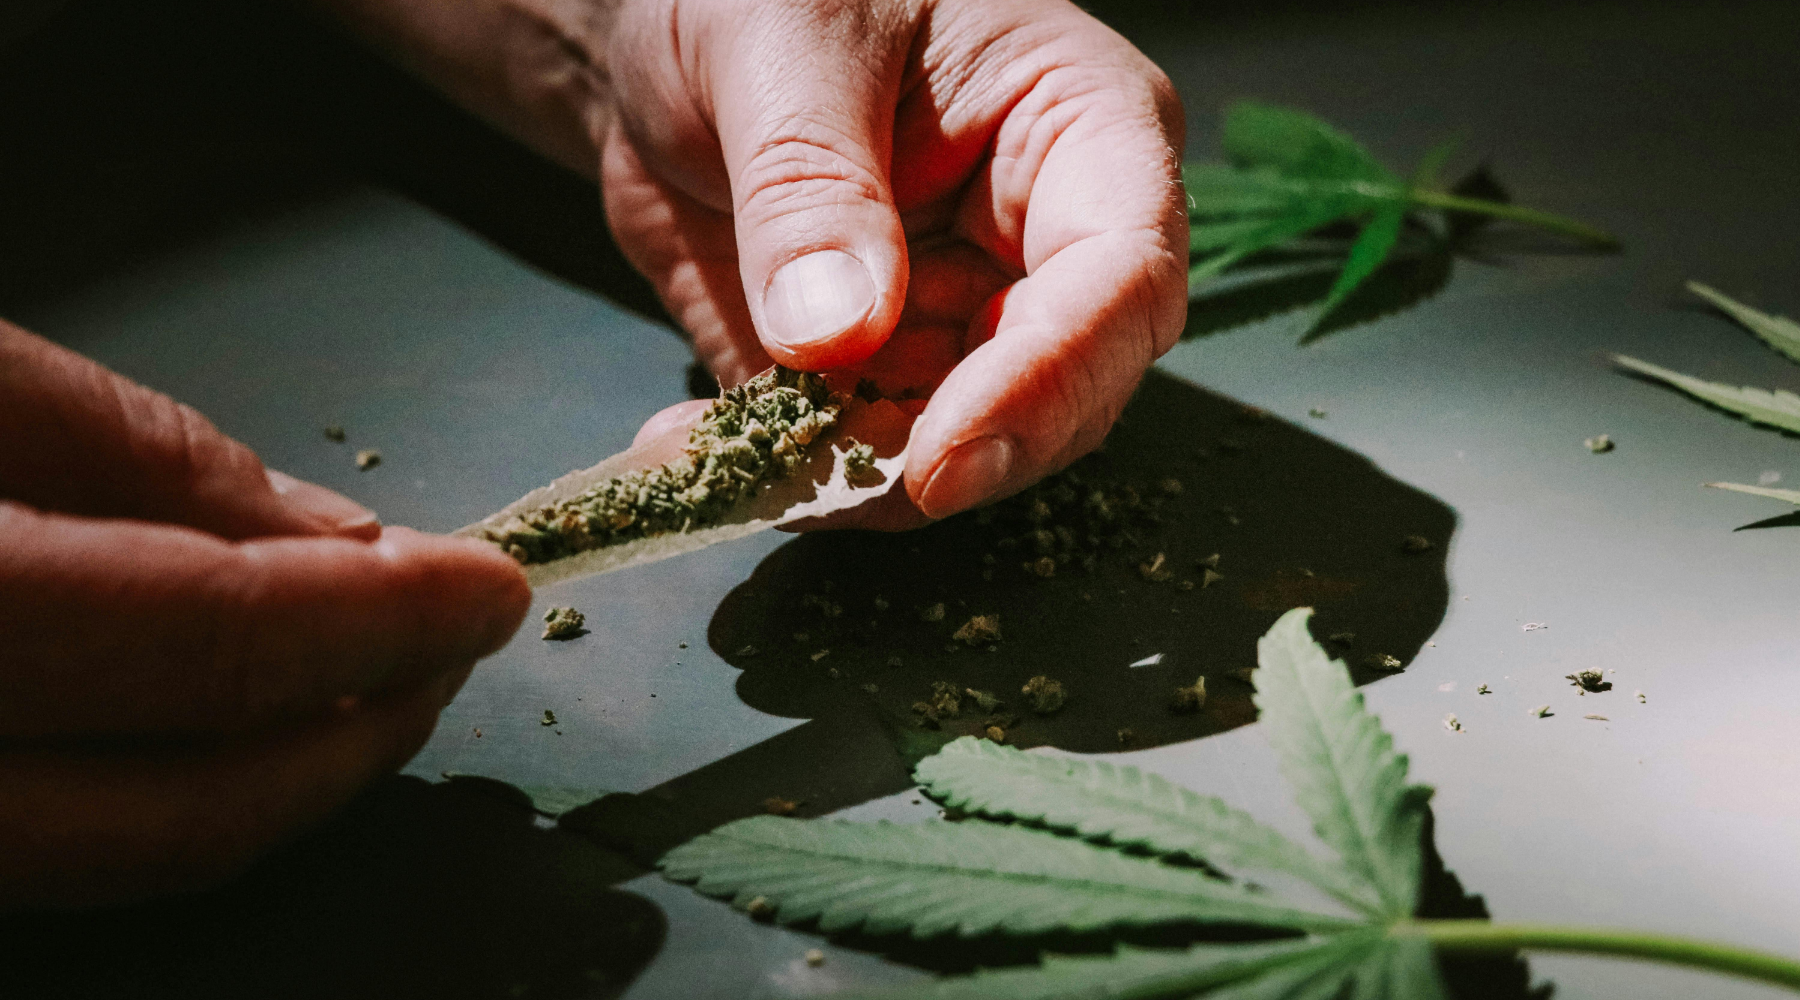
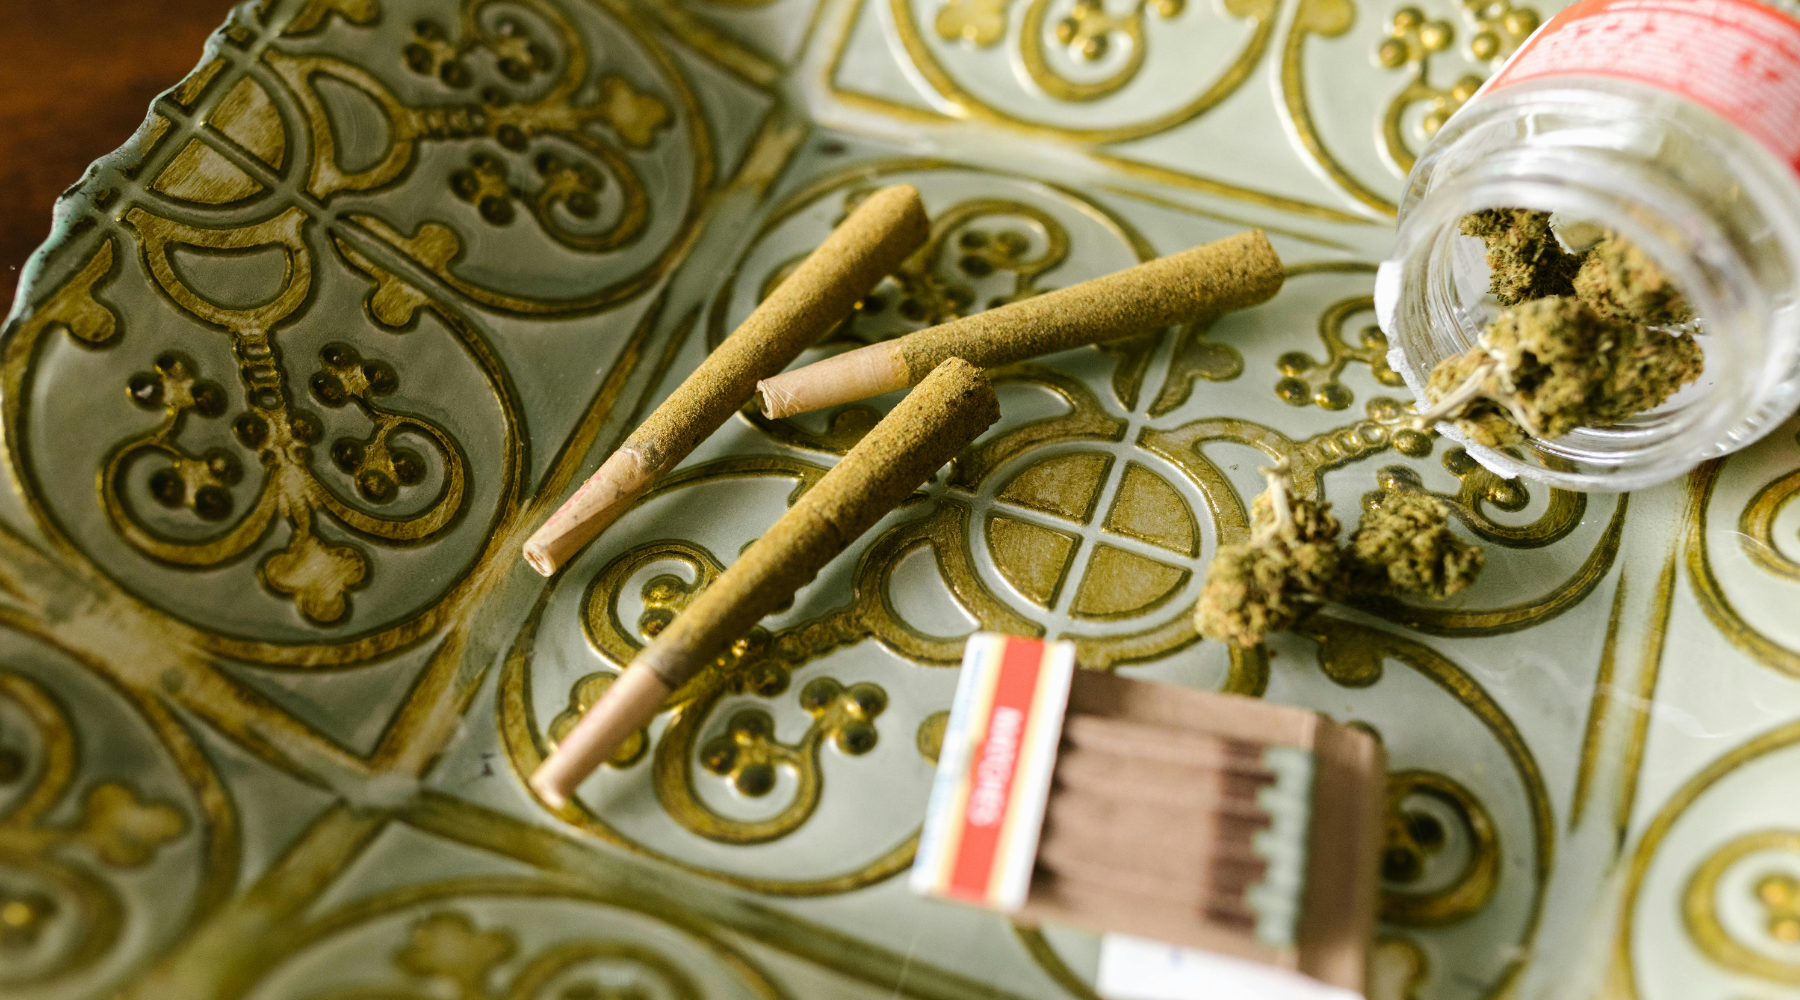
A grinder might look like a simple tool, but the moment it starts sticking or grinding uneven, it can throw off your whole smoke. You wouldn't want to waste a good bunch of king-size pre-rolled cones, right?
And a lot of people don’t realize how quickly that grime builds up. Cleaning isn’t just some optional chore. It’s part of treating your gear with the respect it deserves.
Because when your grinder’s clean, your sesh runs smooth. When it’s not, everything gets compromised.
In other words, it’s simply: "yuck."
Effects of Residue on Performance
That sticky resistance you feel when twisting your grinder? That’s resin buildup throwing a wrench in your mechanics. Every time you grind, little bits of flower and oils cling to the teeth and walls.
Over time, they stack up, slowing rotation and creating drag. What used to be a smooth twist becomes a gritty fight just to shred a nug.
When the blades get coated, they stop doing their job properly. Instead of a consistent, fluffy grind, you get uneven chunks that mess with airflow and burn patterns.
That kind of inconsistency hits your cones hard. You’ll start noticing runs, hotspots, or even worse: cones that just don’t hit right. All because your grinder can’t keep up anymore.
And let’s not forget the kief. If your screen’s clogged up with gunk, you’re losing out on that fine gold dust. A clean grinder keeps your collection steady.
A dirty one blocks it entirely. So if your kief catcher’s been dry for way too long, it might not be your stash. Your maintenance game is everything to blame.
Health and Flavor Considerations
Something you need to keep in mind: your grinder holds onto everything you’ve ever put through it. That old resin? It's not just unsightly, it’s stale. And when it starts mixing into your fresh grind, you get a muted, muddled flavor.
You’re no longer tasting the full terp profile of your flower. Instead, it’s this weird remix of old leftovers, and that kills the vibe before the cone’s even lit.
But flavor’s only half the issue. Moist, resin-filled grinders can start growing things you don’t want near your lungs. This happens especially if you’re in a humid climate or leave your grinder sealed up for too long.
Mold, bacteria, and other junk can cling to old residue and thrive without you even noticing. Next thing you know, that smooth cone is delivering more than just THC.
Keeping your grinder clean is the easiest way to guarantee your smoke stays pure. A quick brush here, a wipe there, and a deeper clean when needed.
When you do this, your gear stays safe, your herb stays tasty, and you keep your lungs clear. Clean sesh, clean conscience.
When Should You Clean Your Grinder?
There’s no hard timer or calendar alert that tells you when it’s cleaning day. But trust, your grinder gives you signals. If the twist starts sticking or the grind feels chunky and uneven, that’s your first red flag.
You might even notice more effort in each turn, or weird resistance in spots that used to feel buttery smooth. When your tool isn’t moving the way it used to, that’s your grinder whispering, “Help me out.”
For light users who only grind occasionally, a deep clean every couple of weeks is usually enough. But if you’re grinding daily, using sticky strains, or rolling multiple times a day, you’ll need to clean it more often.
Once a week keeps it moving right and helps preserve your stash. And if you’re noticing a sudden dip in kief production or the twist feels like a workout? That’s past due. It’s not optional. It’s maintenance time.
There’s no shame in letting it get a little gunked up, but don’t stay in that zone for long. A dirty grinder drags down your whole sesh. It affects the flavor, airflow, even how long your cones last.
So keep an eye (and hand) on how it feels. If your smoke quality drops or you’re fighting your gear instead of vibing with it, take five minutes and reset.
Clean grinder = better everything.
How to Clean Your Grinder: Step-by-Step
Cleaning your grinder doesn’t have to be a hassle, but there’s definitely a right way to do it. Cutting corners or rushing through the steps usually leaves behind grime that keeps stacking up over time.
This is your full reset. Breaking it down, clearing it out, and putting it back together better than it was before.
Whether it’s your first time cleaning or you’ve just been winging it, this step-by-step will get your gear back to peak performance.
Step 1 – Disassemble the Grinder Properly
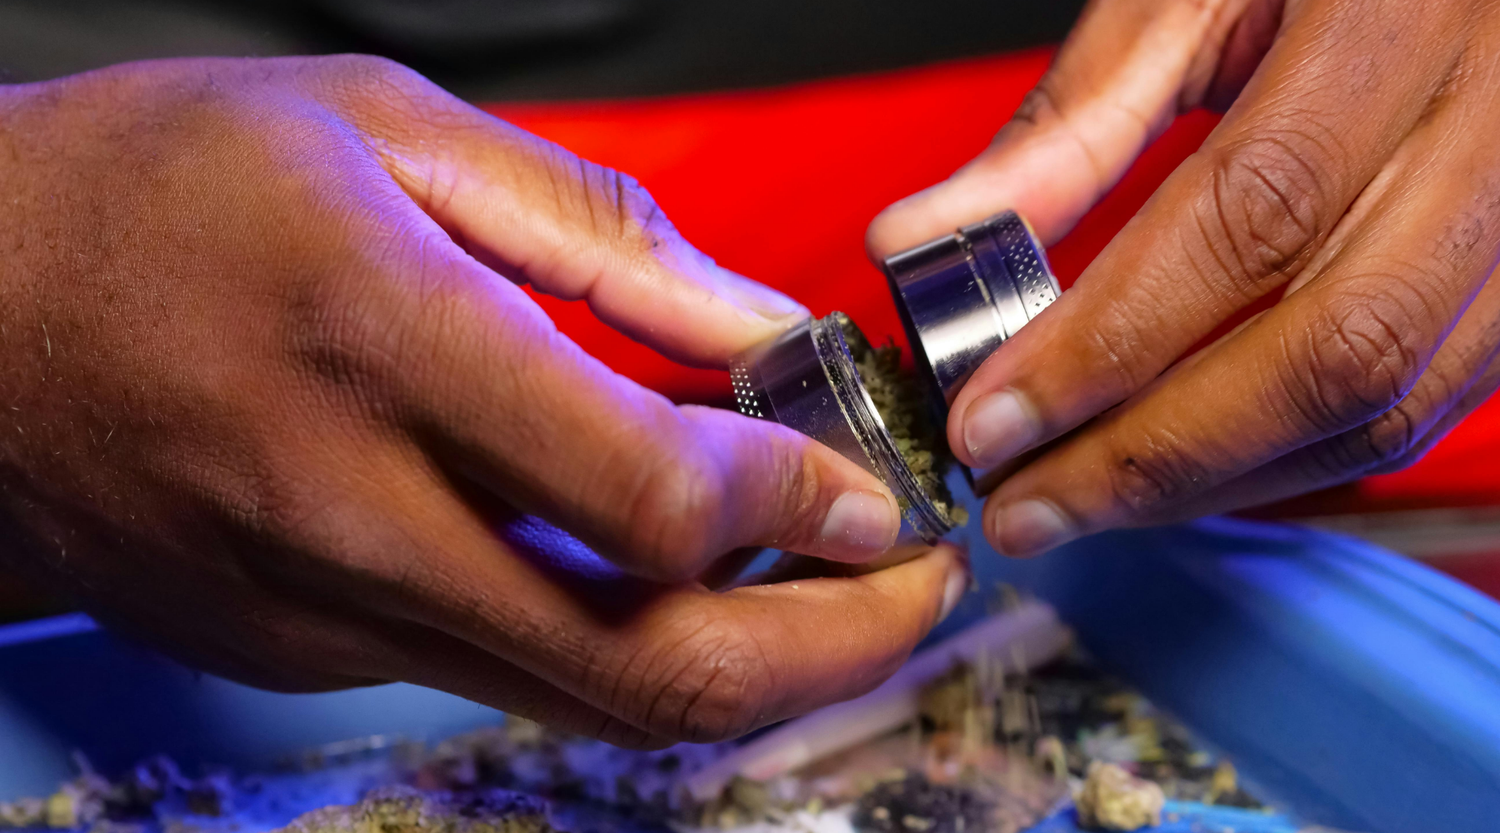
First things first: take it all apart. Most grinders have three or four sections: the lid, the grinding teeth chamber, the herb collection chamber, and the kief catcher down at the bottom. Don’t skip any.
Each piece collects buildup, especially the screen, which is the most delicate part of the whole setup. You want every surface exposed and ready for cleaning.
Work slow and deliberate. Take note of how the parts fit together so you’re not second-guessing during reassembly.
If your grinder has a mesh screen, be extra gentle, it doesn’t take much to bend it out of shape. Lay each piece on a towel or rolling tray as you go.
Not only does this keep your workspace clean, but it helps you stay organized so nothing rolls off the table or gets misplaced.
Once it’s broken down, tap each part gently over a paper towel or tray. You’ll probably shake out a decent amount of loose flower and kief, especially if it’s been a while since your last clean.
Don’t waste it. You can save that for later or just appreciate that you’re already getting results before even scrubbing anything. Think of this as the pre-clean purge.
Step 2 – Freeze or Tap Out the Loose Bits
If your grinder’s extra sticky, the freezer method is your secret weapon. Toss the disassembled pieces into the freezer for about 30 minutes. The cold hardens resin and makes it brittle, so when you take it out and start tapping, the gunk breaks off clean. It’s a low-effort trick that gives you high payoff with minimal mess.
Once frozen, work over a clean surface like a rolling tray or sheet of paper. Tap each part gently to knock out debris. Then grab a small brush, toothpick, or even a paperclip and start scraping out the tight corners and grooves.
You’ll probably pull out a decent stash of reclaimed kief and herb. Some folks collect it for bowls or toss it in edibles. No shame in that.
If you’re skipping the freezer, just go manual, tap and scrape while everything’s room temp. You won’t get quite as much off, but it still works.
This part alone makes a huge difference in how your grinder feels and performs. It’s like clearing out the cobwebs before you go in with the heavy stuff.
Step 3 – Soak the Parts in Isopropyl Alcohol
Now comes the deep clean. Grab a resealable bag or small bowl and submerge the metal parts of your grinder in isopropyl alcohol. 91% or higher is ideal. You want full coverage so the alcohol can get into every groove and tooth.
Let it soak for at least 20 to 30 minutes to really break down the sticky layers that brushing alone won’t fix.
While the parts are soaking, give the container a gentle shake every now and then to help loosen up resin and oils.
You’ll notice the alcohol darken as it lifts the grime, that’s the gunk you don’t want sitting in your grinder.
For seriously neglected grinders, you might even want to do a second round with fresh alcohol to get the full reset.
Important note: if your grinder’s plastic or acrylic, skip the alcohol soak. Isopropyl can break down soft materials over time. Instead, use a warm water and dish soap soak for 15–20 minutes, then move straight to scrubbing.
It’s slower, but it protects your gear and still gets the job done right.
Step 4 – Scrub Away Sticky Residue
Once your grinder’s soaked and the resin’s loosened up, it’s time to get hands-on. Take each piece out of the alcohol one at a time and scrub it down using a toothbrush or a small, soft-bristle brush.
This is where you really put in the work. Every groove, every tooth, and especially around the screen. Be methodical. You’re not just brushing the surface; you’re clearing every corner that’s been caked in resin and flower dust for weeks.
Hard-to-reach spots? That’s where cotton swabs or pipe cleaners come in clutch. Dip them in alcohol and thread them through the tightest areas, the lip of the lid, the threads on the collection chamber, and anywhere the brush can’t quite reach.
If you run into patches of stubborn gunk, no stress. Just re-dip the brush or swab into the alcohol and go at it again. The goal isn’t just to make it look clean; it’s to restore that brand-new twist-and-glide feel.
Pay extra attention to the mesh screen. This is the gateway to your kief, and if it’s blocked up, you’re losing potential every single grind.
Don’t jam or poke it too hard. Just scrub gently until you can see light through it again. A clean screen means a functional kief catcher, and that’s a win for your stash long after the cleaning’s done.
Step 5 – Rinse, Dry, and Reassemble
Now that all the gunk’s gone, you need to rinse thoroughly. Run each piece under warm water to remove every trace of alcohol or soap. The smell should be neutral, not chemical or sharp. If anything still feels slick or smells off, rinse it again. You want clean parts, not chemical residue that could end up in your next grind.
Once rinsed, pat each part dry with a paper towel. But don’t stop there. Air drying is just as important. Even a little leftover moisture can mess with your herb or create the perfect breeding ground for mold. Lay everything out on a towel and let it breathe.
Give it at least an hour to fully dry. If you’re patient, your grinder will thank you with smooth performance and zero weird aftertastes.
When everything’s dry, start reassembling. Twist each part back together slowly, checking for smoothness in the rotation. No squeaks, no resistance. That’s how you know you did it right. At this point, your grinder should feel crisp and ready, like it just leveled up.
Load it up and get back to business. Your sesh just got a serious upgrade.
Deep Cleaning vs. Regular Maintenance
Every grinder has a breaking point. And you don’t want to wait until it’s dragging like a rusty hinge to give it attention. That’s where knowing the difference between regular maintenance and deep cleaning comes in.
Quick cleanings keep things running day-to-day, but deep cleaning is what resets the whole system.
It’s not just about wiping off the surface. It's about clearing out everything that’s slowing you down and restoring your gear back to factory flow.
How Often Should You Deep Clean?
Think of deep cleaning like a full-body reset for your grinder. It’s not something you need to do after every session, but skipping it for too long leads to buildup that quick cleans just can’t touch. If you’re grinding a few times a week, hitting a deep clean every two to three weeks will keep everything running smooth.
Daily grinder? Once a week is a safe bet, especially if you’re using sticky strains that leave more behind.
The real signs are in the feel. If your twist is getting stiff, the grind feels uneven, or your kief screen looks clogged. Those aren’t just quirks, they’re signals.
Resin doesn’t just build up on the surface, it gums up the mechanics. And when your gear is working harder than it should, it puts more strain on the parts and shortens the lifespan of your grinder. Clean it before it reaches that point.
A clean grinder gives you smoother rotations, better grind quality, and more airflow in your cones. It also helps you preserve your bud. No more wasted flower, no more guessing why your sesh doesn’t hit like it used to.
Just smooth, even grinds every time you twist. That’s the goal.
Tips for Keeping Your Grinder Cleaner Longer
The best way to deal with grinder gunk is to not let it build up in the first place. Maintenance doesn’t mean deep scrubbing every time. It means staying ahead of the mess with small, easy habits that stretch the life of your gear.
The cleaner you keep your grinder between uses, the smoother it performs when it counts. Think of this as proactive sesh prep. It saves time, herb, and frustration.
Start with your flower. If your bud’s too moist, it’s going to leave behind more residue. Let it breathe before grinding. Properly cured weed has less surface moisture and breaks down cleaner, leaving less stickiness behind. If your herb feels damp or squishy, give it a bit of air time before you toss it in.
Next, give your grinder a quick brush-down after every few uses. Nothing fancy. Just a dry toothbrush, pipe cleaner, or even a cloth tool to sweep out loose bits and kief. It takes 10 seconds, but it stops resin from hardening and saves you a deep-clean job later.
Also, avoid overstuffing. Grinding in small batches keeps the teeth cleaner and spreads less oil. Big loads might seem efficient, but they just mash things up and cake your gear faster.
Signs It’s Time for a Full Reset
If twisting your grinder feels more like arm day at the gym, it’s not just you: it’s overdue for a reset. That grinding resistance, the squeaky turns, or the uneven breakdown of your bud all point to one thing: resin buildup slowing everything down.
You shouldn’t have to fight your gear to make it work.
Flavor’s another dead giveaway. If your herb suddenly starts tasting dull, muted, or just a little off, chances are your grinder is contaminating the smoke.
Old resin carries stale terps, and that gunk can bleed into your fresh grind. It’s like seasoning your weed with leftovers from two weeks ago. Absolutely not a vibe.
And if it’s been more than a month since your last clean? That’s your sign, period. You don’t need a checklist or a red alert; just open it up and look.
Even if it’s still functioning okay, that grime is affecting the performance and quality of your sesh. Give it the full reset and get your twist back to how it should feel: smooth, effortless, and ready for that next grind.
Final Thoughts on Grinder Care
Your grinder might seem like just another tool in your kit, but if you’re serious about your sesh, it’s part of the ritual. It’s where the process starts, before the roll, before the spark. When it’s running clean, everything else flows better. Your flower grinds more evenly, your cones burn smoother, and you get every bit of flavor and potency your bud has to offer. That’s not just maintenance, it’s respect for the process.
The truth is, it doesn’t take much to keep your grinder dialed in. A quick brush once or twice a week, a deeper clean every couple, and you’re solid. You don’t have to baby it. Just stay aware. If the twist feels stiff or the flavor’s off, don’t ignore it.
Give your gear a few minutes of attention and it’ll give you way more in return. Grinder care isn’t extra effort. It’s just smart sesh prep.
So the next time things feel off, don’t push through a janky twist or a crusty chamber. Pop it open, clean it right, and reset the vibe. You’ll feel it instantly.
A clean grinder doesn’t just make your session easier. It upgrades it.
Better smoke, better flavor, better flow. A clean grinder hits different.
That’s facts.


LEAVE A COMMENT
All comments are moderated before being published.
This site is protected by hCaptcha and the hCaptcha Privacy Policy and Terms of Service apply.