
When it comes packing pre-rolled cones at scale, speed and consistency matter more than ever. Whether you're running a growing business, prepping for a big drop, or just want to stop wasting time with inconsistent hand-packs, automatic filling machines are the real game-changers
Manual cone-packing? That’s old school. With today’s tech, you can fill dozens, sometimes hundreds, of cones in one go with tight, even packs that look pro.
So if you're serious about production, let’s talk about how to properly use an automatic cone filling machine to get the most out of your cones.
From prepping your materials to finishing those perfect rolls, we’re walking through the steps, the setup, and the rhythm of a system that gets it done fast.
Why Use an Automatic Cone Filling Machine for Packing Pre-Rolled Cones?
When you’re moving product consistently, hand-packing premium pre-rolled cones isn’t just time-consuming. It’s a logistical nightmare. It’s cool for small batches, sure. But once orders start stacking or you’ve got a team trying to push volume, you’ll feel the pain fast. Pre-roll production needs flow. It needs speed. And it needs to stay tight across every tray. That’s where automatic cone filling machines step in.
These machines are made for scale. They take the most tedious part of your operation and streamline it with precision.
You're not worried about burn inconsistencies, wasted flower, or long prep times anymore. Just load, press, twist, done.
Increasing Efficiency and Output in Pre-Roll Production
Packing pre-rolled cones by hand is doable. If you're filling a few. But once your operation scales or demand picks up, you’ll quickly realize the bottleneck. That’s where automatic cone filling machines come in. Instead of doing 5 cones in 10 minutes, you're doing 100 in seconds. And they all come out clean, packed evenly, and ready to twist.
An automatic filling machine transforms your operation. You reduce labor, cut down prep time, and drastically increase daily output. For brands trying to meet tight timelines or just maximize productivity, automation isn’t just nice. It’s necessary.
Consistency is Key in Cone Quality
There’s nothing worse than handing off pre-rolls that burn unevenly. Loose fills, air gaps, or overpacking can all ruin the vibe of your final product. With a proper filling machine, you're creating consistency across the board. That means better airflow, fewer complaints, and a smoke that delivers the same experience every single time.
Consistency isn’t just about burn quality. It’s about building a reputation. When customers light your pre-rolls and get a smooth, even session, they remember that. That’s how loyalty is built.
Scalable Technology for Growing Operations
As your business scales, so should your process. An automatic filling machine doesn’t just meet your current needs. It gives you room to grow. With attachments and accessories, some machines can fill up to 300 cones in a single cycle. That’s a serious leap from hand-filling.
More output doesn’t mean more stress either. Once you're dialed into the workflow, one person can operate the machine, maintain it, and crank out trays all day. It’s cleaner, smoother, and way more manageable than trying to train five people to roll by hand.
Meet the Knockbox Series: The Industry Standard
The Knockbox Series by Futurola is one of the best-known solutions in the cone-packing game. It’s been used by pre-roll brands around the world and has become the gold standard for automated cone filling. The Knockbox comes in multiple sizes, with options to fill 50, 100, or 300 cones at once, depending on which base unit you’re running.
What makes it hit different is its balance between automation and simplicity. It’s not an overly complex automatic pre-rolled cones packing machine to learn, but it’s powerful enough to change the way your whole production line runs. You’re not babysitting it; it’s fast, intuitive, and repeatable. That’s a win.
It works by placing pre-rolled cones into a cone loader, which sits on the base and filling device. Material goes into the tray on top, and once activated, the Knockbox distributes that material evenly into every cone below. It’s all vibration-driven, which means the product settles naturally into each cone without grinding it too tight or leaving air pockets.
Once the cones are filled, they’re ready to be twisted, capped, or passed along to your next station. And because the Knockbox is designed for real production workflows, you can integrate it into your packaging or labeling line without missing a beat.
Step-by-Step Guide: How to Use an Automatic Cone Filling Machine
If you’re scaling up pre-roll production, getting familiar with your cone filling machine is non-negotiable. Whether you’re running a compact 50-count setup or managing a 300-cone beast, efficiency starts with process.
The goal is simple: reduce labor, increase consistency, and keep things clean at every stage. This isn’t guesswork. It’s a system. And once you dial it in, you won’t look back.
Here’s the rundown on how to use an automatic cone filler like a pro without wasting time, flower, or effort.
Step 1: Prepare Your Flower for Consistent Grinding
The whole process starts with the grind. And getting this part wrong throws everything else off. If your material’s too chunky, it won’t settle right in the cones. Too fine, and you risk airflow issues, clogs, or even spillage that slows down production.
You want a medium, fluffy grind. Something that settles evenly and holds structure without being too airy or dense. Commercial grinders are your best friend here. If you’re still using hand grinders or random kitchen tools, you’re already bottlenecking yourself. Consistency in grind texture equals consistency in burn quality. And that directly reflects in your final product.
Get this dialed first before even thinking about hitting the start button.
Step 2: Load the Pre-Rolled Cones Into the Cone Loader
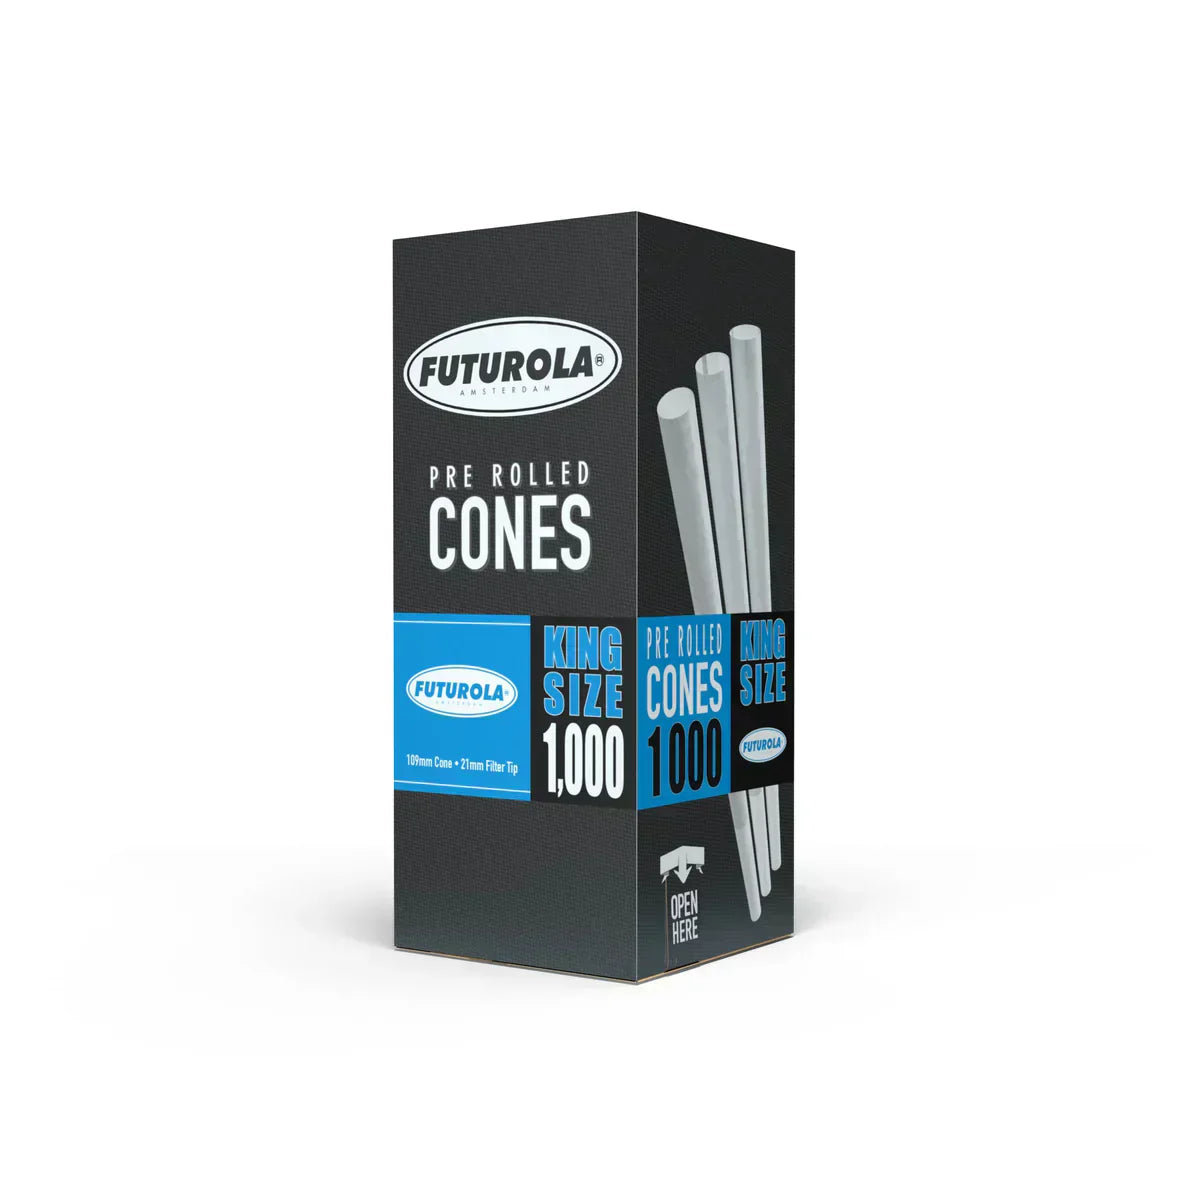
Next, it’s time to lock in your cones. You can choose whether between Standard King Pre-Rolled Cones or Fatboy Paper Cones. Place them in the loading tray. Most machines will have a slotted holder built specifically for cone support. Make sure every cone sits straight and firm. A tilted or off-center cone will fill unevenly, waste flower, and mess up your final finish.
This step might seem basic, but it’s key. You’re building the foundation of your pre-roll here. If a cone is warped, toss it. If it won’t sit flush, replace it.
A perfect fill depends on structure. Give the loader a once-over to ensure every cone is locked, aligned, and standing upright before you even think about loading your flower.
Step 3: Load Your Material Into the Filling Tray
Now it’s time to pour your ground material into the tray above the cones. Spread it out evenly. Don’t just dump it in one pile. An even spread means the vibration system can distribute it better across all the cones.
At this point, double-check your tray’s fit and alignment.
Make sure everything is locked in and sitting flush. That way, when the system turns on, the material goes exactly where it needs to without spilling.
Step 4: Activate the Machine and Begin Filling
Here’s where the magic happens. Power up the machine and let the vibration mechanism start doing its job. Depending on your setup, the machine will either shake, vibrate, or pulse in a way that drops the flower down gradually into the cones, settling it as it goes.
Watch the cones as they fill. A proper cycle should fill them evenly from bottom to top without jamming or overflow. If you notice uneven fills, you can either run the cycle again, add more material, or adjust the vibration settings if your unit allows it.
Some machines give you dial-in control over how firm or soft you want the final pack to feel. Don’t overlook this. How your cones smoke depends heavily on how tight they’re filled. Get a feel for your machine’s sweet spot and use that as your benchmark moving forward.
Step 5: Finishing and Post-Fill Checks
Once the fill cycle ends, remove the tray and inspect your work. Now’s the time to check each cone. Are they packed to your spec? Did they fill evenly? Is there any loose material sitting on top that needs to be tamped down?
You’ve got a few finishing options depending on your workflow. Twist the tops and you’re ready to store or package. Add crutches or filters if your brand includes those post-fill. If you’re running a full production line, this is where filled cones move down the line to be weighed, labeled, sealed, or wrapped.
Bottom line? Your quality check happens here. One tray of perfect cones saves you hours of rework later.
Tips for Getting the Most Out of Your Filling Machine
Running an automatic cone filling machine isn’t just about pushing a button and watching it go. It’s about dialing in a process that runs smooth, batch after batch.
If you’re trying to level up from decent output to real production-grade consistency, these tips are what separate the pros from the ones constantly troubleshooting.
Keep It Clean Between Cycles
One of the easiest ways to ruin efficiency is letting build-up ride between cycles. Shake, flower dust, and bits of stems don’t just make the machine look messy. They clog movement, disrupt vibration patterns, and throw off fill weight.
After every few trays, stop and wipe down the surface, especially around the vibration tray and cone holders. Dump out the leftover grind, clear out the gaps, and brush off the edges.
If you’re switching strains or SKUs, clean even more thoroughly to avoid any cross-contamination. That’s not just for quality. It’s for brand integrity.
Clean tools mean clean pre-rolls. If you're selling it, the machine’s condition matters just as much as what goes inside.
Use Consistent Cone Sizes and Brands
Trying to run different cone sizes in the same tray? Bad idea. Each brand has slightly different specs, even within the same size category. Paper thickness, crutch height, and taper can all shift how the cones sit and how they fill.
Stick with one brand and size per run. Don’t swap between King-size and 1 1/4s mid-shift and expect even results. Machines are built to work with consistent input. When you mix cone specs, you’re asking for jams, uneven fills, and loose packs. That’s wasted flower and wasted time.
When you lock in one style per round, your workflow stabilizes. And when your workflow’s clean, your output jumps up.
Monitor Your Material Quality
Don’t blame the machine if your bud’s trash. Your output is only as good as your input. That means no bone-dry shake that disintegrates into dust. No half-cured flower that clogs up mid-drop. And definitely no surprise stems that throw off the fill.
Use material that’s freshly ground, properly cured, and stem-free. Consistent texture = consistent fill. You want fluff, not powder. And make sure your humidity’s dialed in. Too dry? It crumbles and overpacks. Too moist? It clumps and won’t settle.
Run a check on your grind before every session. It takes two minutes, and it can save you from burning a whole tray of pre-rolls that no one wants to smoke.
Final Word on Packing Pre-Rolled Cones With an Automatic Machine
Packing pre-rolled cones doesn’t have to be slow, messy, or inconsistent.
With the right tools, like the Knockbox Series, you can take your production to the next level and make high-volume rolling feel like clockwork. It’s not about removing the art of smoking. It’s about leveling up the way you deliver it.
If you’re producing at scale, or even if you’re just trying to sharpen your pre-roll workflow, an automatic cone filling machine isn’t just an upgrade. It’s a must. Set it up, dial it in, and let it do what it does best: help you fill cones faster, cleaner, and with way less stress.

LEAVE A COMMENT
All comments are moderated before being published.
This site is protected by hCaptcha and the hCaptcha Privacy Policy and Terms of Service apply.