You know that frustration when your cone channels unevenly? I get calls about this constantly. People are complaining that their cones canoe like crazy, wasting material. Or when half the stuff falls out because the pack was too loose?
Most cone rolling guides teach basic steps. Grinding, filling, sealing. But they skip the density and pressure techniques that separate amateur rolls from pro-quality cones.
Poor-burning versus perfect cones? Two factors: packing tightness and material evenness. Get these right. Your cones provide controlled, even consumption. Nothing gets wasted.
This guide shows the packing techniques that work. Real pressure distribution methods. Quality checks that catch problems early. The right approach varies depending on your cone rolling tools and techniques, whether you're hand-rolling from scratch or filling pre-made cones.
Disclaimer: Rolling techniques and product specifications are subject to frequent changes. Based on 2025 data and what works when rolling. Always verify current product specs and follow your local regulations.
Why Tightness and Evenness Matter More Than You Think
Most beginners focus on simply rolling the cone. They don't think about structural integrity. The real skill shows up in how tightly and evenly you pack it.
How Loose Packing Wastes Your Material
Loose packing drives me nuts. Too much space between particles means air rushes through like a highway. Material consumption rate increases too quickly.
I see this mistake constantly. People are afraid to compress things. Then wonder why everything burns in 30 seconds.
Loose, under-packed areas burn hotter and faster. More oxygen exposure means more problems. That heat spreads to the surrounding material. What should last several minutes disappears in half that time.
Think about campfires. Loosely stacked wood burns fast with high flames. Tightly arranged logs burn slowly with sustained heat. The same principle applies here.
What Uneven Distribution Does to Your Experience
Have you experienced canoeing? God, I hate that. The cone channels down one side, creating that canoe-shaped ash trail. The opposite side stays unlit and wasted.
Uneven packing creates concentrated hot spots. Loosely packed areas combust rapidly. Temperatures reached 30-40% higher than those in well-packed sections. Meanwhile, denser areas resist airflow. Stay unlit.
Draw resistance tells the story, too. Uneven density means inconsistent airflow. One puff pulls easily. Next feels blocked. That inconsistency ruins everything.
The Professional Standard You Should Aim For
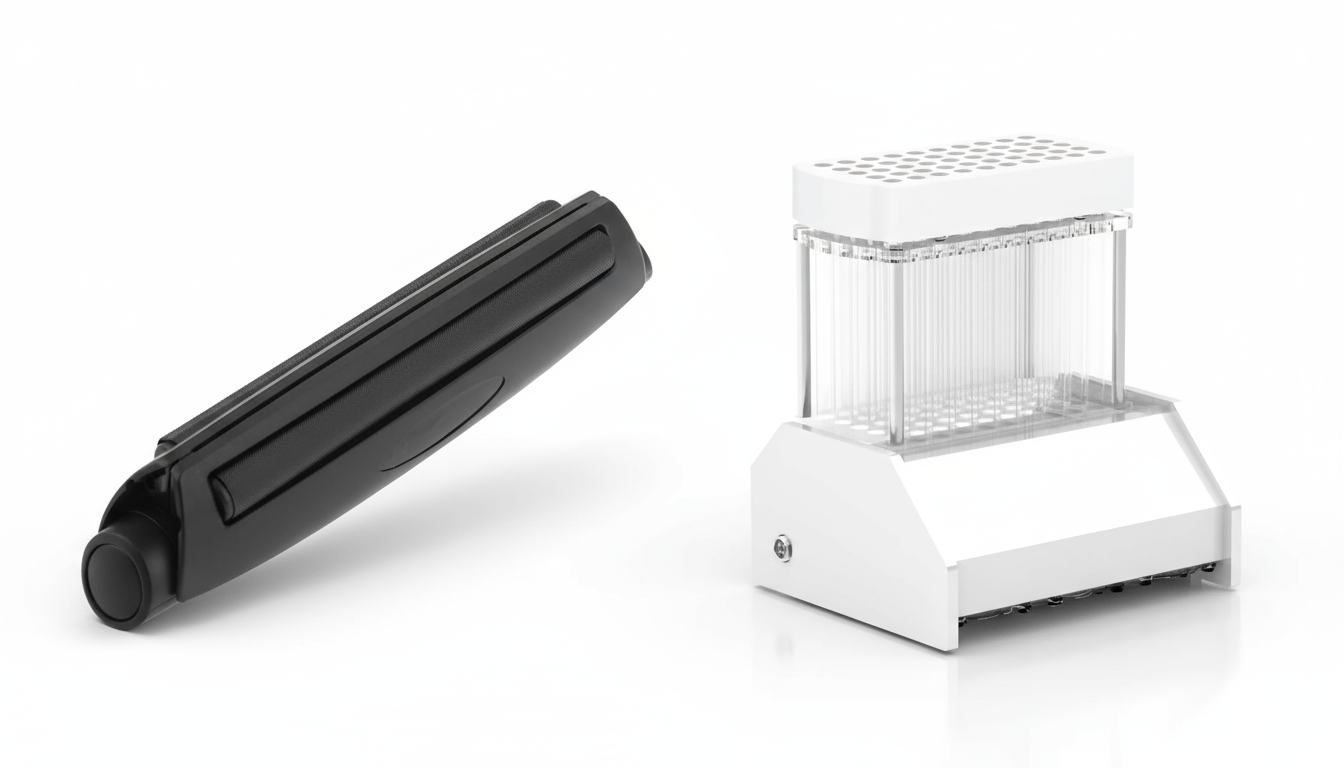
Commercial operations, such as Futurola's facilities, fill thousands of cones daily. They maintain consistent quality through automated packing.
A well-packed cone feels uniformly firm throughout. Squeeze it gently between thumb and forefinger. You want consistent resistance from the filter base to the tip. Not rock-hard. Just uniform resistance.
Hold it up to the light. You shouldn't see obvious gaps or overly dense sections. That's the target. Consistent firmness. Even shape. Smooth performance under use.
Getting Your Material Ready for Perfect Packing
Skip material prep, and your packing techniques won't matter. Your grind consistency and moisture levels set the foundation for everything else.
Grind Consistency Makes or Breaks Your Roll
Your grind texture needs to hit a sweet spot. Too fine? You get powder that packs like cement. Too coarse? Chunks everywhere, creating packing gaps.
Target a grind texture similar to dried oregano. Around 1-3mm particle size with uniform consistency. When you pinch a small amount, it should feel uniform and consistent. No large pieces or dust.
Test your grind by packing a small amount in your palm. If it compresses into a clump that holds shape briefly, you're in the right range. Simple guideline. Works every time.
Moisture Content Your Material Should Have
Overly dry material crumbles into dust during the grinding process. Too-moist material clumps irregularly. Prevents even distribution.
Material that has been cured feels slightly springy when pressed. Just enough residual moisture (around 55-62% relative humidity) that it compresses without crumbling.
The customer brought me material so dry it disintegrated when I touched it. Fixed it with a 62% humidity pack overnight. Problem solved.
If it turns to powder, add slight humidity using a humidity pack. Overly moist material needs drying. Store it in a cool, dry place for 1 to 2 days.
Removing Stems and Preparing Distribution
Small stems create multiple problems. They poke through paper. Create uneven density pockets. Prevent compression.
Pick through your material before grinding. Remove anything that doesn't belong. Then grind everything to that consistent texture.
Spread your ground material on a flat surface. Break apart any clumps with your fingers. You want every bit to feel uniform. This 30-second step makes everything easier.
Choosing the Right Tools for Tight, Even Results
The right packing tools give you precise control. The wrong ones damage paper or create uneven packing. Let me tell you what actually works.
Filter Tips That Support Structure
Your filter tip diameter must match the base opening of your cone. Too small, and the tip area feels loose. Too large and you struggle to fit it in.
For standard 1 1/4-inch cones, use filters with a diameter of approximately 6 to 8mm. King-size cones need 7-9mm filters. Large fatboy cones need 9-12mm diameter tips.
Make your own tips by rolling thin cardboard. Or use pre-made filter books. Trust me, nail the filter size and everything else gets easier.
Packing Tools That Give You Control
Cylindrical packing tools work way better than your fingers. They provide a consistent diameter. Smooth pressure application. Reach into narrow cone tips without tearing paper.
Honestly, bamboo skewers beat every fancy tool I've tried. Perfect diameter. Smooth finish. Costs nothing. Those aluminum tampers everyone raves about? Overrated.
For standard cones, use something with a diameter of around 5-6mm. Wooden chopsticks work great. Bamboo skewers with smooth ends. Avoid anything sharp or with rough edges.
Rolling Papers That Hold Their Shape
Paper weight matters for how well your hand-rolled cone holds integrity. Thin papers around 12-14 grams per square meter work for hand-rolling. They're easier to tuck and seal tightly.
European papers handle tight packing better than anything else I've used. The fiber quality shows. Made from longer fibers that resist tearing.
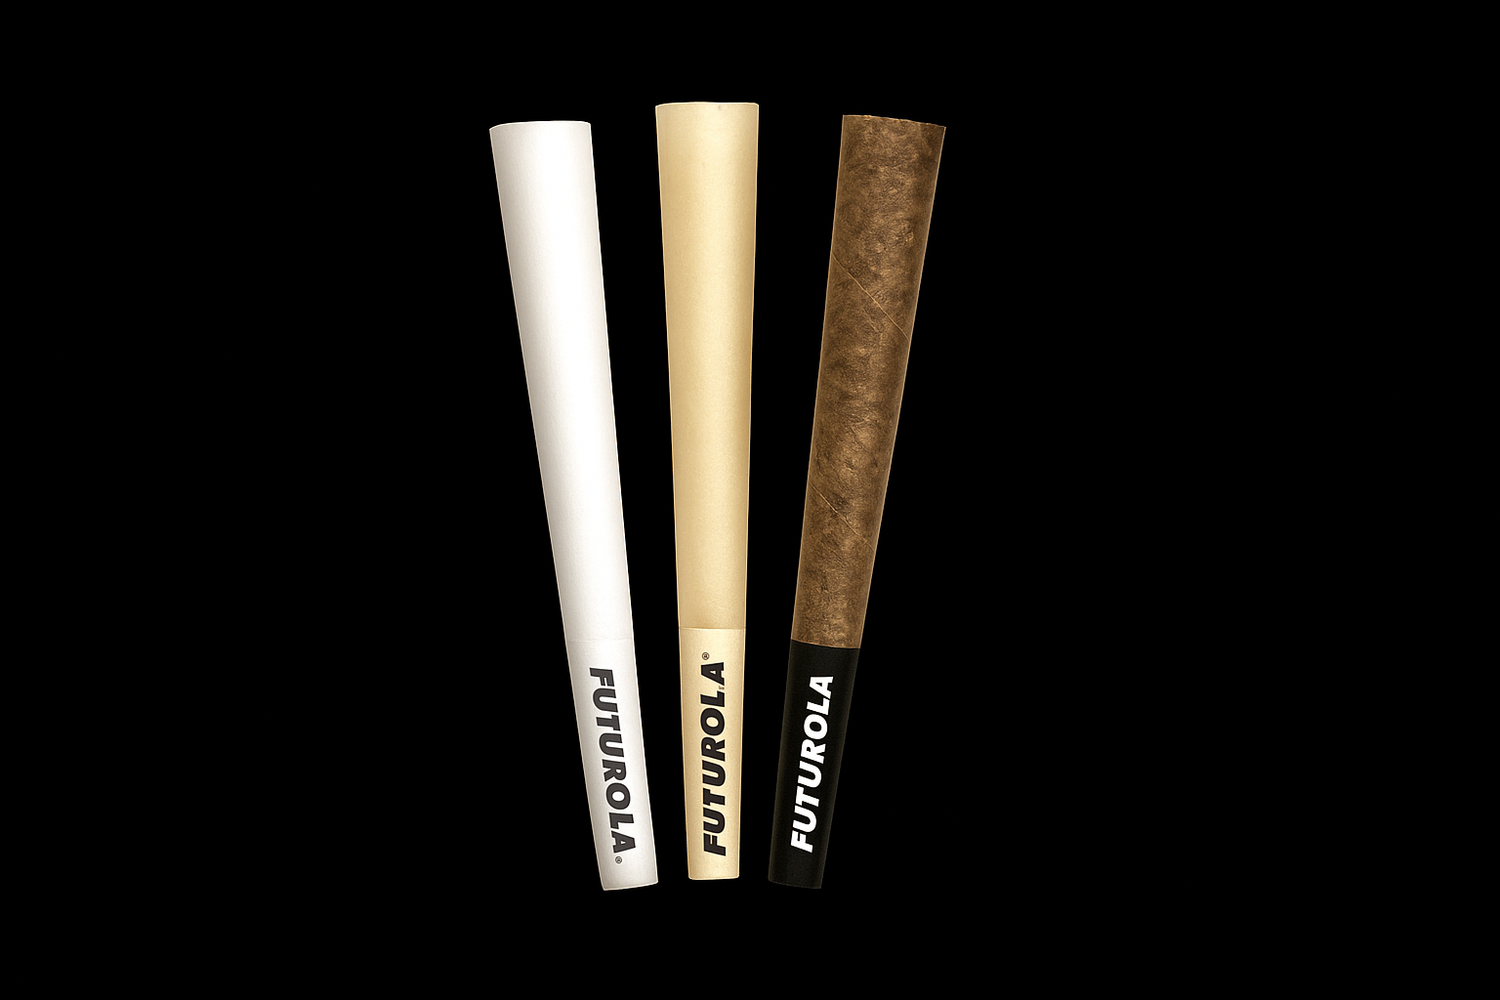
Pre-made cones vary in quality. Look for smooth paper with a smooth texture. The cone should hold its shape firmly when you pick it up empty.
Hand-Rolling Techniques for Real Tightness
Hand-rolling from scratch requires different skills than packing pre-made cones. These techniques come from traditional European rolling methods.
The Amsterdam Method for Distribution
Place your rolled filter tip at one end of the rolling paper. Position it on the adhesive strip side for the right sealing orientation.
Distribute your ground material in a diagonal line along the crease of the paper. Place around 30% near the filter end. 70% at the opposite open end. This creates the natural cone taper.
The material should form a slight mound in the center. More at the open end. Less near the filter. Keep the material loose at this stage. You'll compress it during rolling.
Pressure Points That Create Even Density
Your thumbs and index fingers do all the compression work. Roll the paper back and forth between them. Apply gentle pressure that compresses material evenly.
Start at the filter end where the cone is narrowest. Apply pressure there first. Establishes your baseline density. Then work toward the open end. Maintain that same firmness throughout.
The key is consistent pressure. Too much and you'll tear the paper. Too little and you won't achieve the tightness you need.
The Tuck That Determines Everything
The initial paper test determines your entire roll's tightness level. Once you've shaped the material into a cylinder, tuck the bottom edge of the paper up and under the material.
This first tuck needs to be tight. Pull the paper taut against the material before continuing to roll. If this initial wrap feels loose, everything that follows will likely be loose as well.
After the tuck, continue rolling upward. Maintain tension on the paper. Each rotation should compress the material slightly. Keep everything even from filter to tip.
Before sealing, perform a squeeze test along the entire length of the cone. It should feel uniformly firm. Once it passes, lick the glue strip and seal it in place.
Packing Pre-Made Cones to Professional Standards
Between hand-rolling and pre-made cones? Pre-mades win for consistency. If you want identical results every time, buy quality pre-mades and focus on packing technique. Understanding how cone rollers simplify packing helps you decide whether manual or machine-assisted methods work better for your volume needs.
Layer-by-Layer Packing for Consistent Density
Add ground material in small amounts. Around 0.1-0.2 grams at a time for standard cones. One pinch. After each addition, pack it down before adding more.
I've watched people dump half a gram in at once. Then wonder why they can't pack it evenly. Doesn't work that way.
Each packed layer should feel uniformly firm to gentle finger pressure. Use your packing tool to compress material from the top. Work it down toward the filter. Three to four good compressions per layer usually do it.
The Settling Technique Commercial Operators Use
Hold the pre-rolled cone vertically. Grip the filter tip between thumb and forefinger. Tap the cone's open end firmly against a hard, flat surface. Rotate the cone slightly between taps.
After several taps, you'll notice the material has compressed. Add more material to fill the gap. Pack this new addition down. Then tap again.
Repeat this settling and adding process until the cone stays filled. No significant gaps formed after tapping.
Pressure for Different Cone Sizes
Standard 84mm cones need moderate packing pressure. About the force required to press a doorbell. Firm but not compressed solid.
Larger cones, like fatboy sizes, require more material per layer. Similar pressure, though. Pay attention to packing the edges. Not just the center.
Longer cones need more packing sessions. Pack every 1-2 centimeters of material you add. Don't try to pack from top to bottom in one motion.
Fixing Common Problems
Even experienced rollers run into packing issues. Many of these stem from common mistakes when using a cone roller that affect material distribution and density control. Knowing how to fix them mid-pack saves time and material. Here's how to salvage problem cones.
When Your Cone Feels Too Loose
If the structure feels loose throughout, gently open the twisted top. Add small amounts of material. Pack them in carefully.
Use a thin tool to compress existing material more thoroughly. Work from top to bottom with firm, steady pressure. Sometimes you can achieve better density without adding more.
Correcting Uneven Density Mid-Pack
Uneven material density shows up visually. Paper bulges. Cone distortions. Tactile soft spots when you squeeze-test.
Use your packing tool to push material from dense areas toward loose ones. Insert the tool alongside the packed material. Angle it toward the loose section. Rotate the cone. Repeat from different angles.
Dealing with Air Pockets
Air pockets form near the filter. Or in the middle section, where packing pressure was inconsistent. You'll feel them when you squeeze.
If you discover a pocket after packing, insert your tool carefully to avoid damage. Compress that specific area. For pockets near the filter, you may need to empty the bottom portion occasionally. Repack it right.
Rescuing Overpacked Cones
Over-compressed cones feel rock-hard. You need an excessive suction force to draw air through. Material is packed so densely that airflow channels are blocked.
Use your packing tool to loosen the material slightly. Insert it and wiggle gently. Create some space between particles. Test the draw after loosening. You want to feel some resistance. But you shouldn't have to pull hard.
Quality Checks Before You Light Up
Final quality checks prevent disappointing experiences after you've put in all that work. These three tests catch problems before you waste a perfectly rolled cone.
The Squeeze Test for Firmness
Gently squeeze the cone along its entire length. The packed cone should feel firm throughout. Still compress slightly under gentle pressure. Then spring back partially when you release.
If the filter end feels different from the tip end, the density is uneven. If you can compress any section easily, it's underpacked. If it feels like squeezing a stick, it's overpacked.
Visual Inspection for Even Shape
Hold the packed cone up to eye level against a light background. Check for smooth taper symmetry. Consistent cone angle. Absence of irregular bulges.
The taper should be smooth and gradual. Filter to tip. Any bulges indicate uneven packing. Look for wrinkles or stress marks in the paper.
Check the color through the paper. It should look relatively uniform. Dramatically dark and light sections indicate density variations.
The Draw Test That Reveals Everything
Before lighting, do a dry draw airflow test. Place the filter between your lips. Inhale steadily. Assess airflow resistance.
You want moderate draw resistance. About equivalent to drinking a milkshake through a standard straw. Controlled airflow without strain.
If the draw feels blocked, you've packed too tightly. If air rushes through with zero resistance, the pack is too loose. Do these checks. Seriously. Saves you from disappointing sessions.
Rolling Tight Cones: Your Action Plan
You now have the complete picture. Tight, even-burning cones come down to mastering a few fundamentals.
Material preparation is your foundation. Get your grind consistency right. Maintain a relative humidity of around 55-62%. These fundamentals affect everything that follows.
Pick one method and master it. If you prefer pre-made cones, focus on layering them by layer until it becomes automatic. If you're hand-rolling, perfect that initial tuck first.
Practice matters. Your first attempts may not meet professional standards. That's fine. Each cone teaches you something about pressure, material behavior, and quality indicators.
Remember these three quality checks every time: a squeeze test for firmness, a visual inspection for even shape, and a draw test for airflow. Pre-use quality checks catch these problems.
Whether you're rolling by hand or packing pre-made cones, the principles stay the same. Consistent grind. Right moisture. The right tools. Even pressure distribution. Quality checks before use.
Futurola brings over 25 years of rolling expertise from Amsterdam's traditional rolling culture. The company offers pre-rolled cones in multiple sizes. Standard, Slender, Fatboy, and Party. Designed specifically for packing results that work.
Master these basics, and you'll roll tight, even cones that perform every time.
This guide is for informational purposes only. Not professional advice. Material characteristics, product specs, and local regulations change frequently. Always verify current information from official sources. Follow all applicable laws in your jurisdiction.

LEAVE A COMMENT
All comments are moderated before being published.
This site is protected by hCaptcha and the hCaptcha Privacy Policy and Terms of Service apply.